
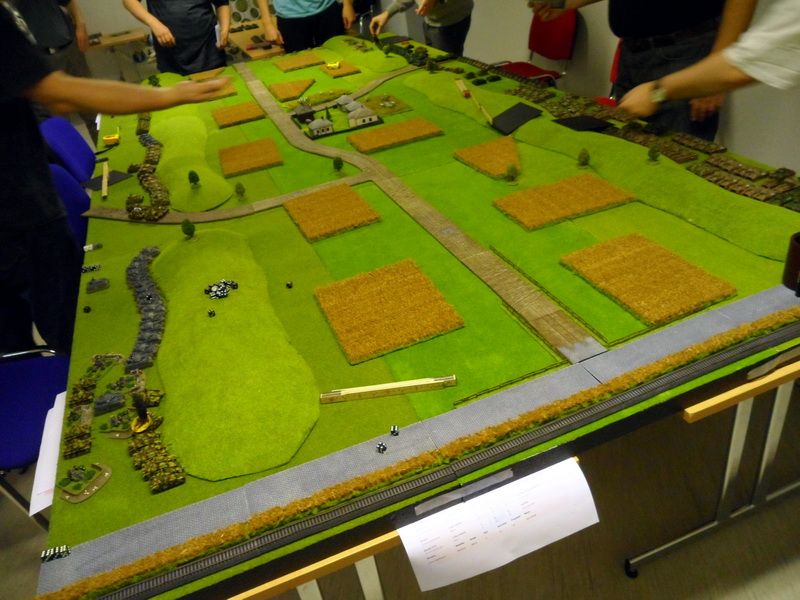
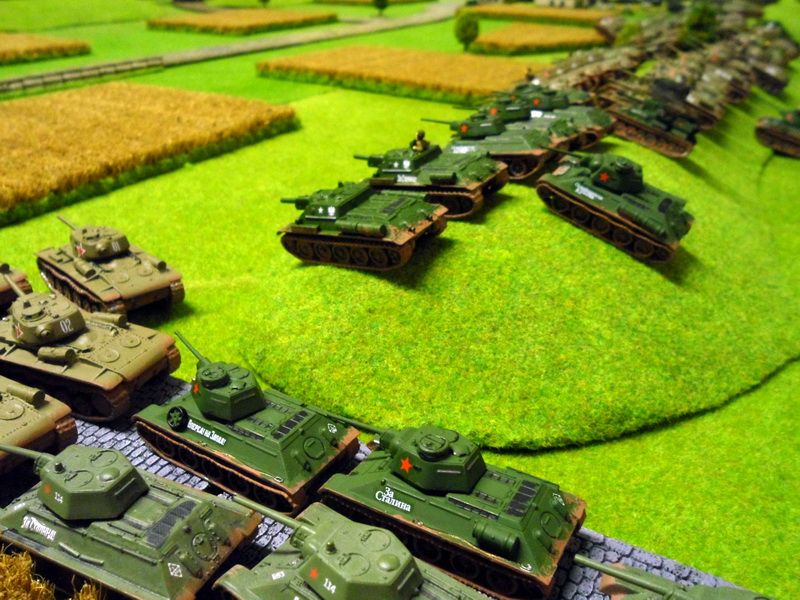
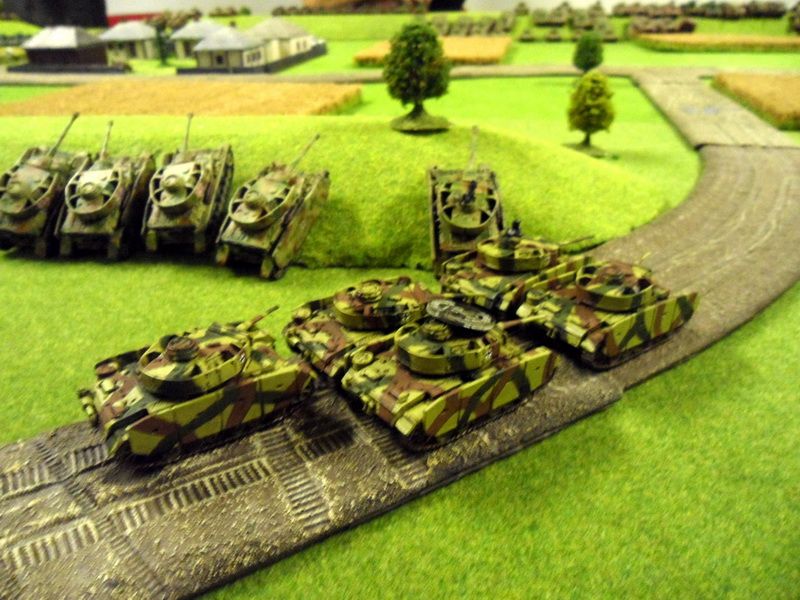
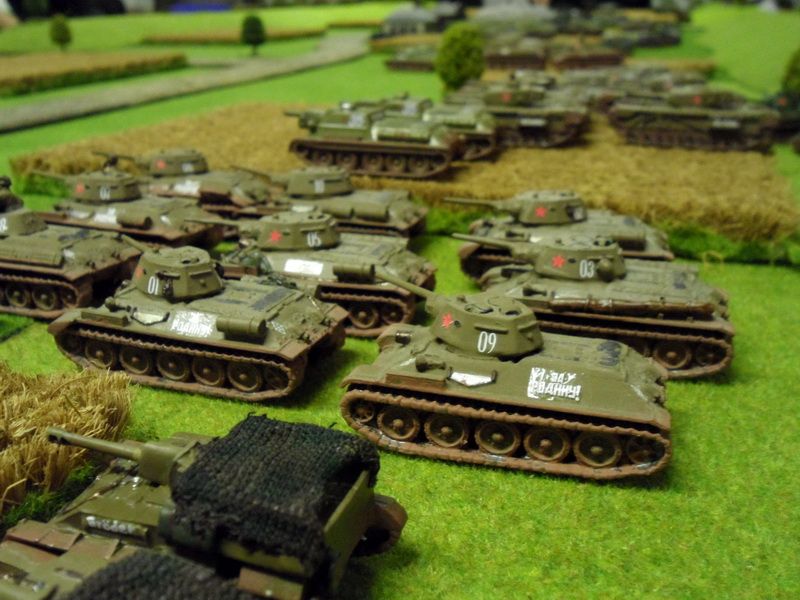
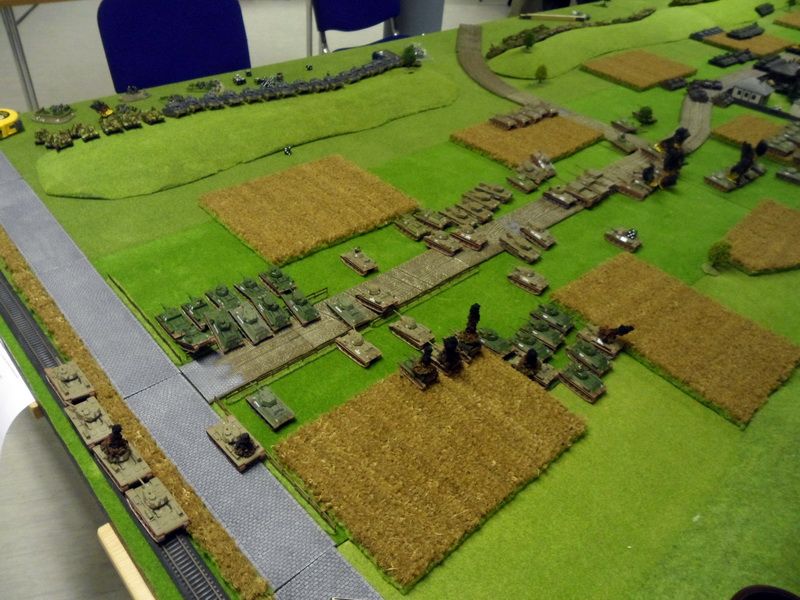
 This weekend Peter and Mikael ran a gigantic tank battle multiplayer game. The guys had been preparing for this game for months, painting Soviet and German tanks by the dozens.
The army lists were historically researched and troops were represented in the correct sector facing their historical counterparts. As far as preparation goes, this was one of the most well organized games of this kind that I have played, with crib sheets of friendly and enemy tanks readily available and the table being divided into 3 sectors to make it easier to play multiple players per side without slowing down.
Essentially, if your troops crossed over a certain line, the guy next to you took over those units - so you could send and receive reinforcements from the friendly flanks. The divided sectors also allowed for a very fast paced game where the opponents of each sector pretty much played an entire turn in their own pace and then waited for the others to finish.
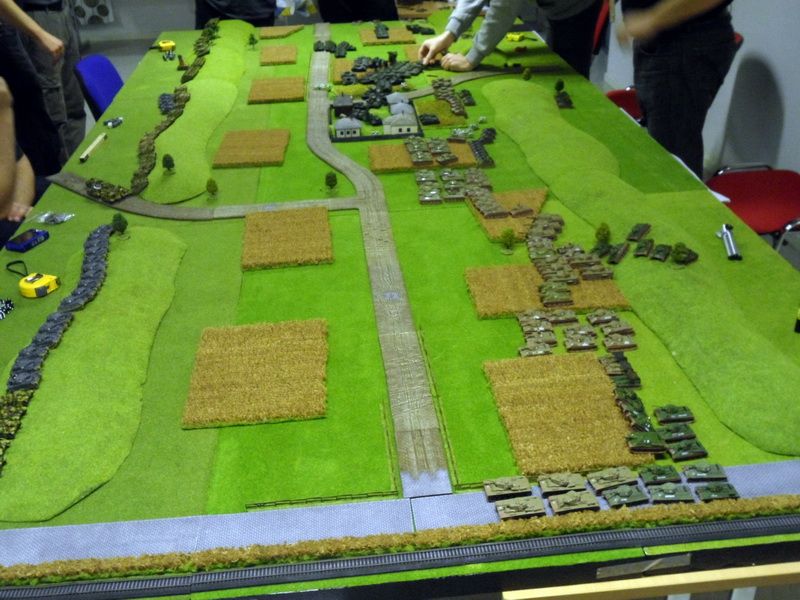
IIRC Peter said they had some 17.000!! points per side - and the most impressive thing was that we were all done in roughly 4 hours of play (think we ended the game at the German turn 7).

 Here are the army lists for all sectors:
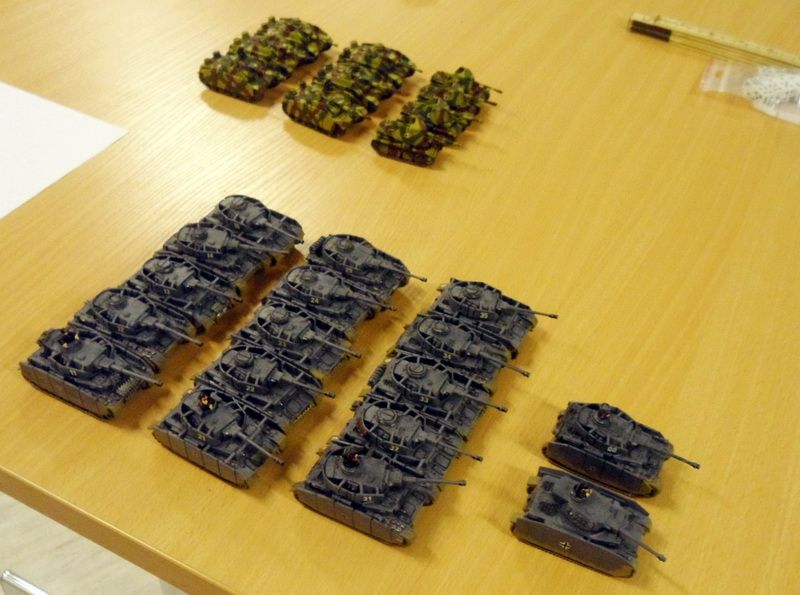
 GERMANS
West flank
Company HQ: 2 PzIV H
Company assets:
3 platoons of PzIV H (5 in each)
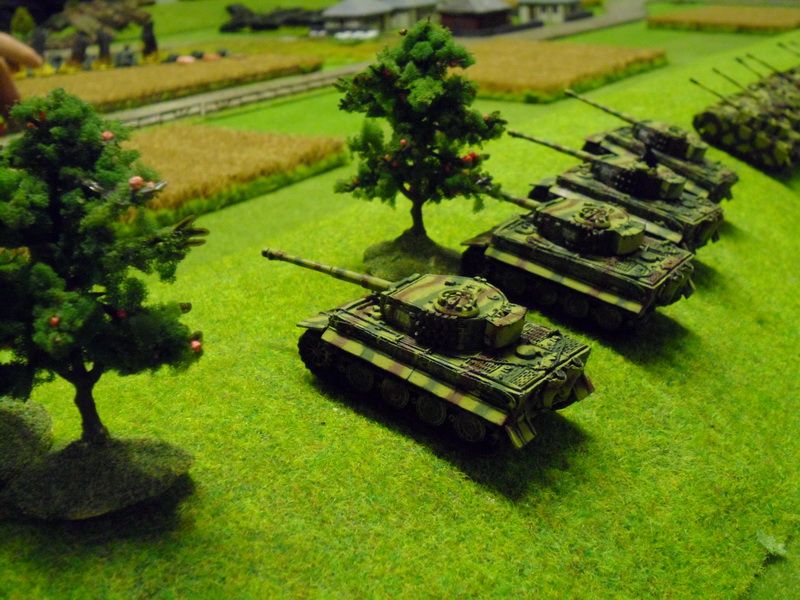
1 Platoon of Tiger I E with Michael Wittmann.
Reserves: 5 Panzer IV H
 Center
Company HQ: 2 PzIV H
Company assets:
3 platoons of PzIV H (5 in each)
2 platoons of PzIII M (5 in each)
Reserves: 5 Panzer IV H
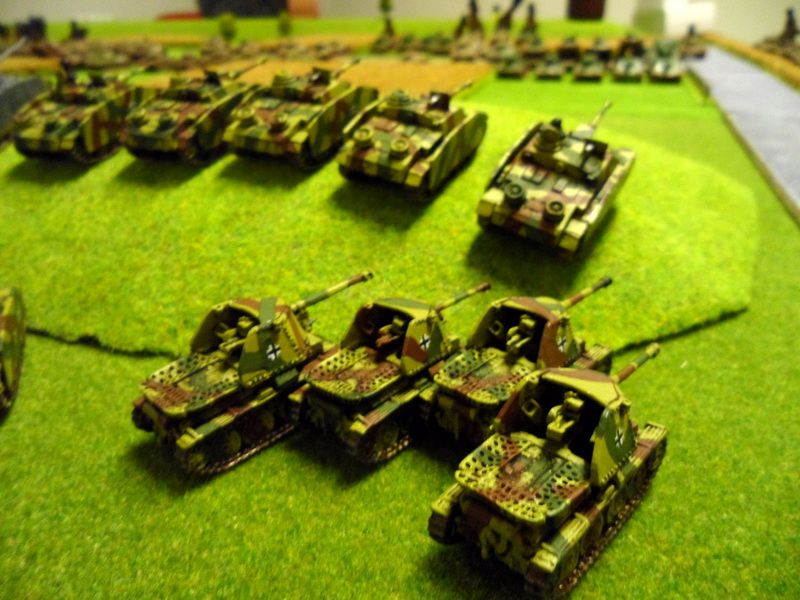
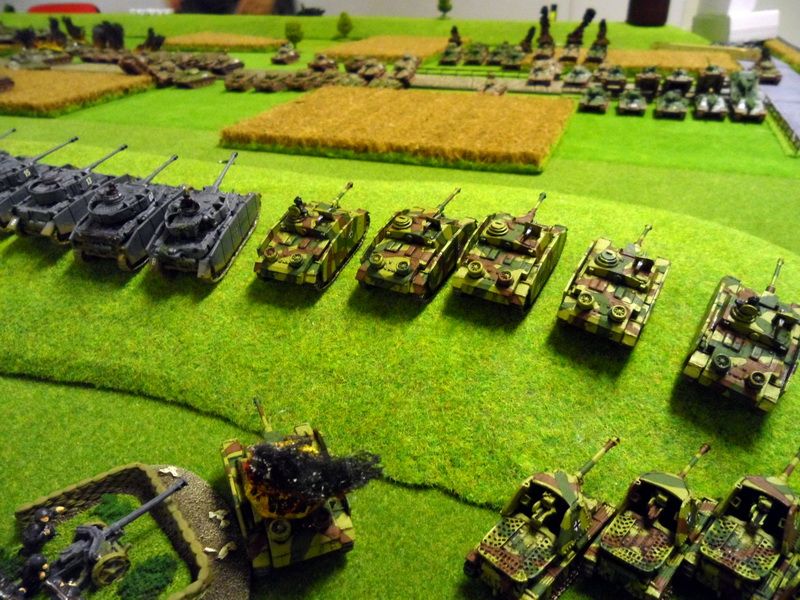
East flank
Company HQ: 2 PzIV H
Company assets:
3 platoons of PzIV H (5 in each)
2 platoons of StuG G (3 in each)
1 platoon of Marder III H (4 vehicles)
Reserves: 5 Panzer IV H
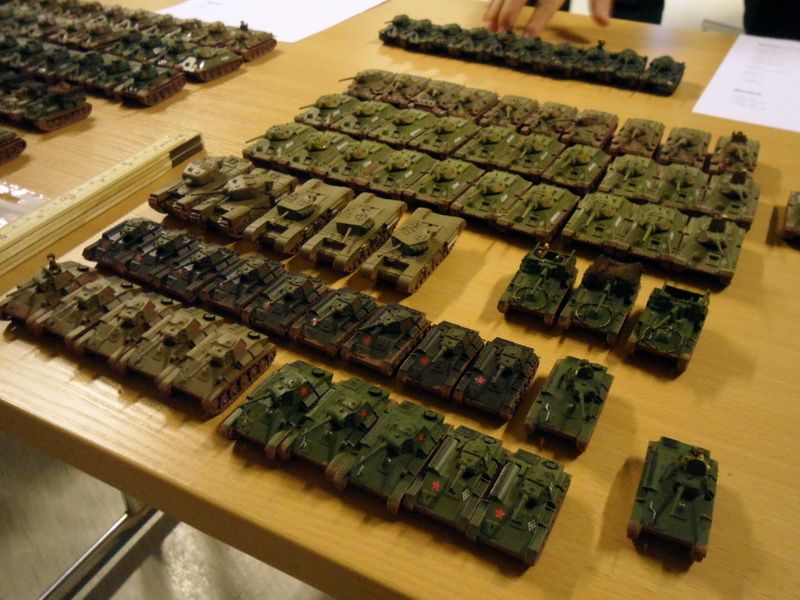
 SOVIETS
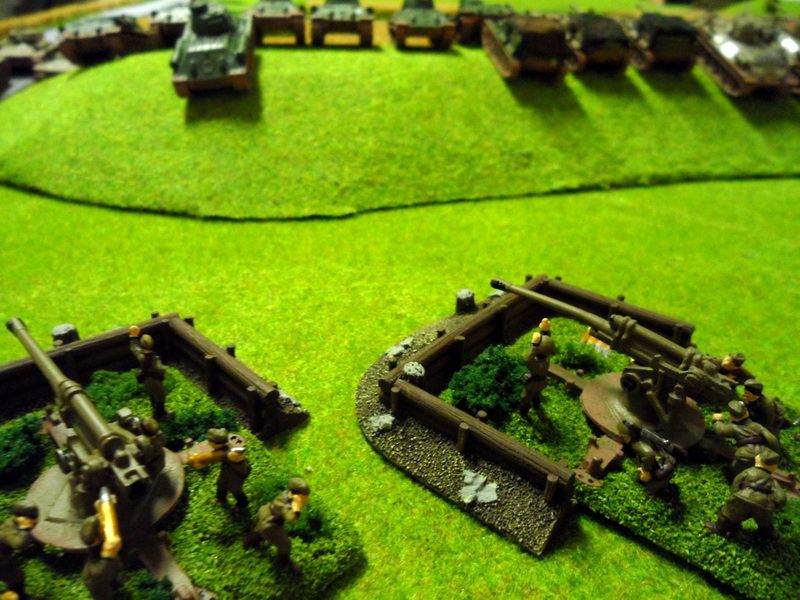 West flank
Battalion HQ: T-34 Obr42
Battalion assets:
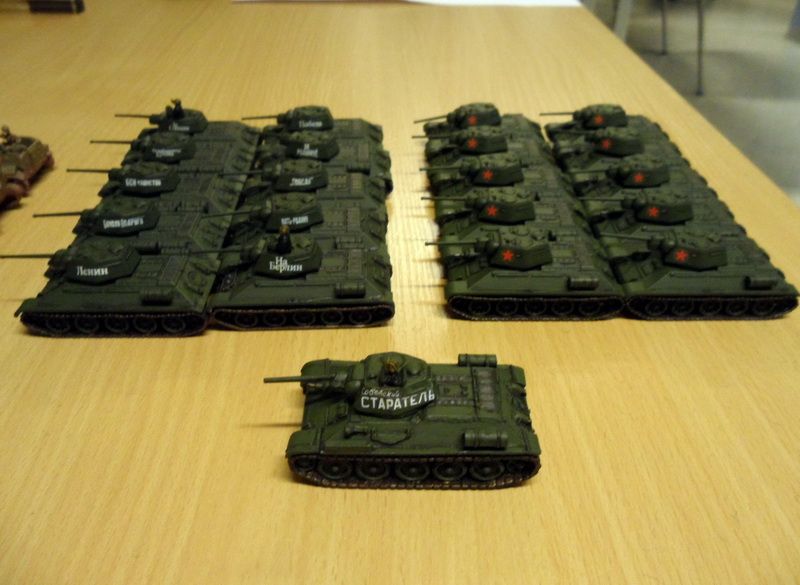
3 platoons of T-34 Obr42 (10 tanks in each)
Battalion HQ: T-70 obr43
Battalion assets:
2 platoons of T-70 obr43 (10 in each)
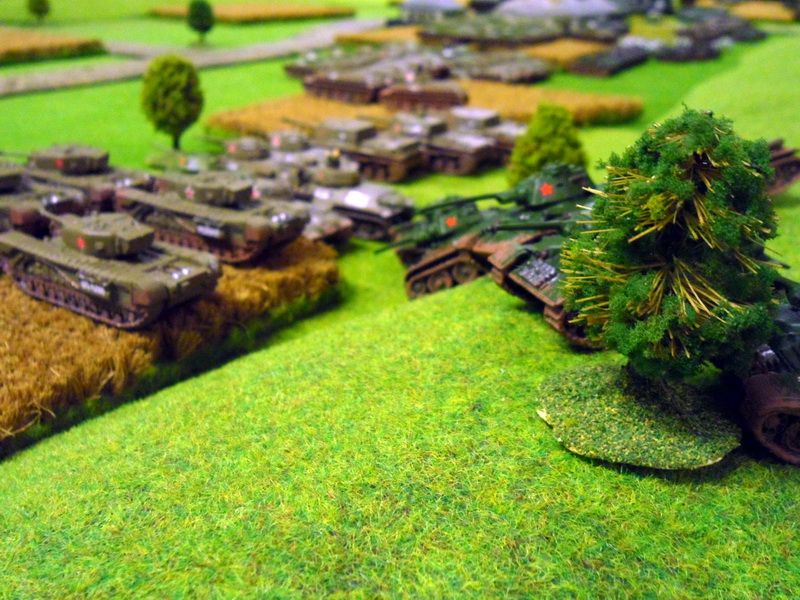
Platoon of Churchill mark IV (5 tanks)
2 SU-122 SPG's
Platoon of SU-76M (3 vehicles)
Reserves
Company HQ T-34 Obr42
1 platoon of T-34 Obr42 (10 tanks)


 Center
Battalion HQ: T-34 Obr42
Battalion assets:
3 platoons of T-34 Obr42 (10 tanks in each)
Battalion HQ: T-70 obr43
Battalion assets:
2 platoons of T-70 obr43 (10 in each)
Platoon of Churchill mark IV (5 tanks)
2 SU-122 SPG's
Platoon of SU-76M (3 vehicles)
Reserves
Company HQ T-34 Obr42
1 platoon of T-34 Obr42 (10 tanks)
 East flank
Battalion HQ: T-34 Obr42
Battalion assets:
3 platoons of T-34 Obr42 (10 tanks in each)
KV-1S Platoon (5 tanks)
Platoon of Churchill mark IV (5 tanks)
SU-122 platoon (4 vehicles)
SU-76M (3 vehicles)
Reserves
SU-152 (3 vehicles)
..................
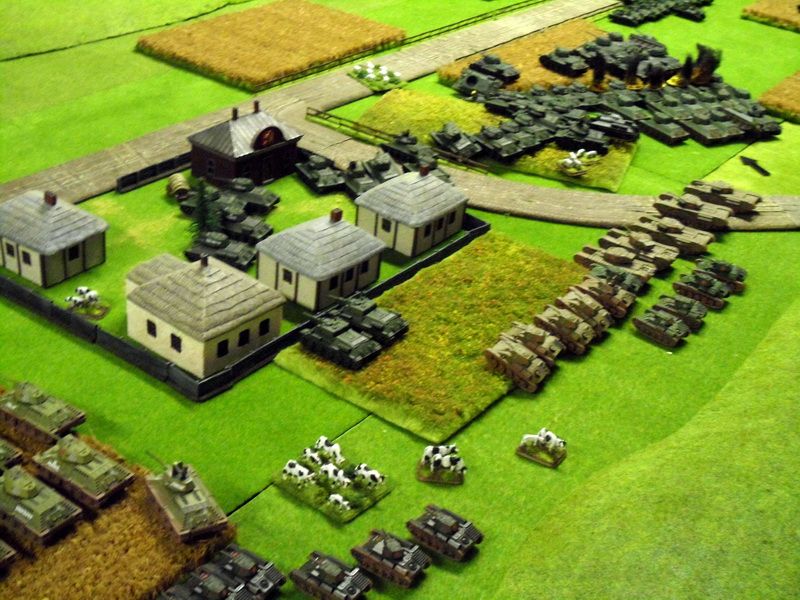
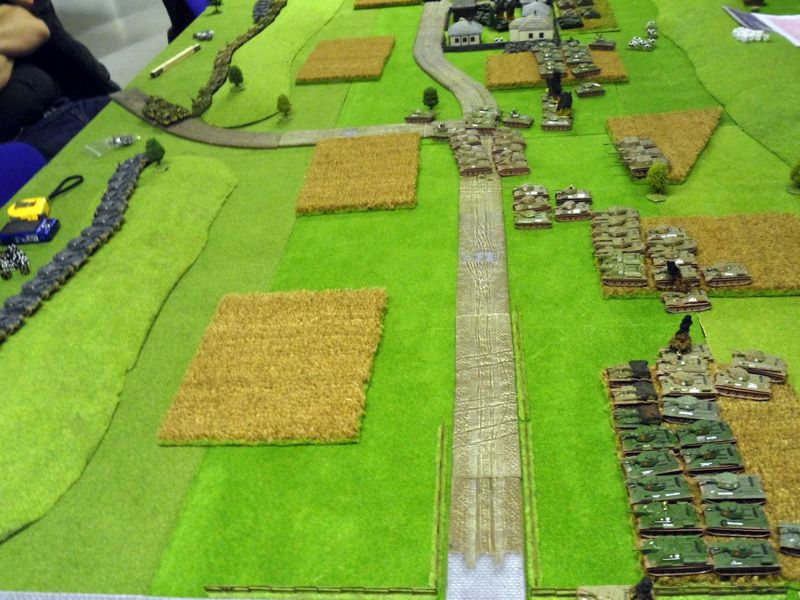
 The Soviet side won the initiative, and preliminary bombardment of both sides commenced, a couple of tanks got knocked out but overall the bombardment left both armies pretty much untouched. Soviet tanks rolled out and over the hill. Each commander had his own envelope with objectives which yielded victory points for his side at the end of the battle- my objectives on the east flank was to secure the crossroad and the road at the end of the German deployment.
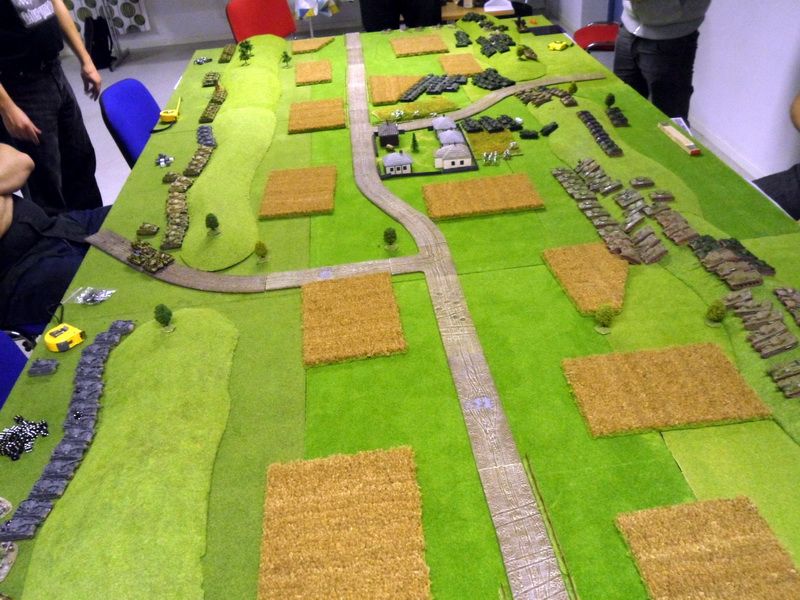
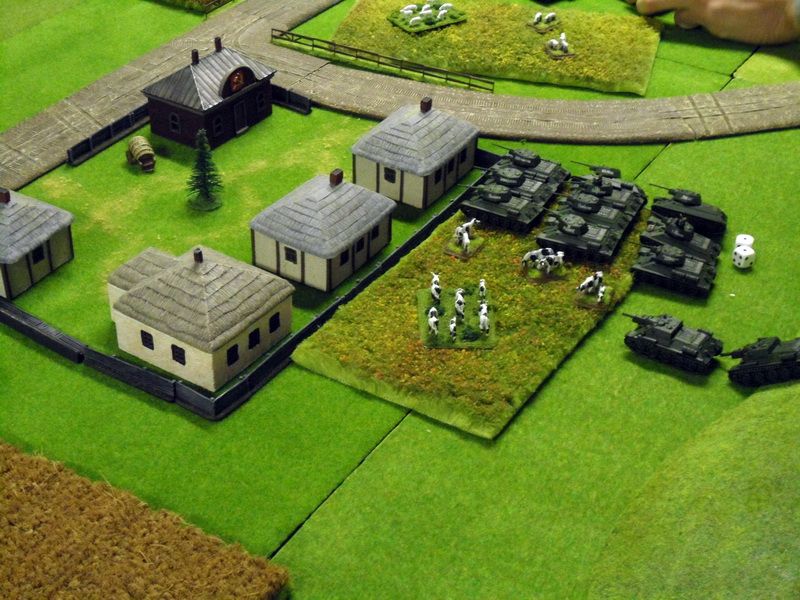
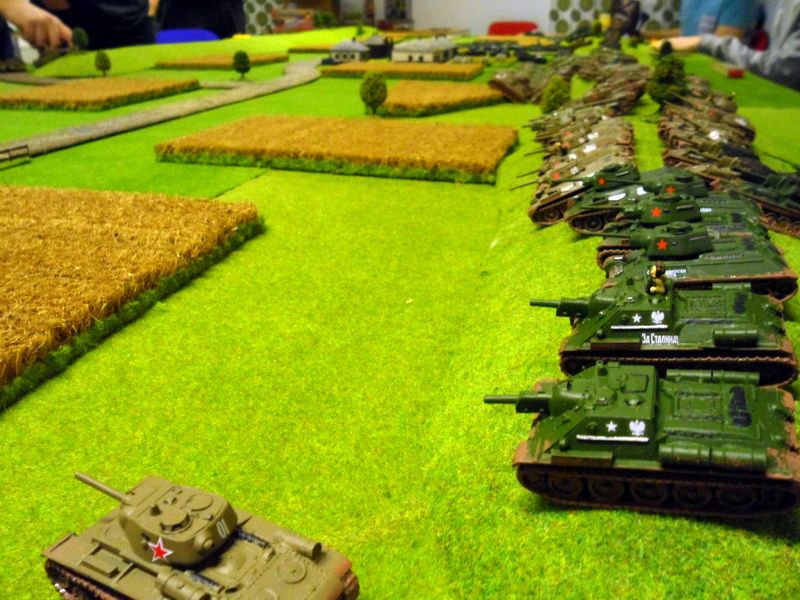
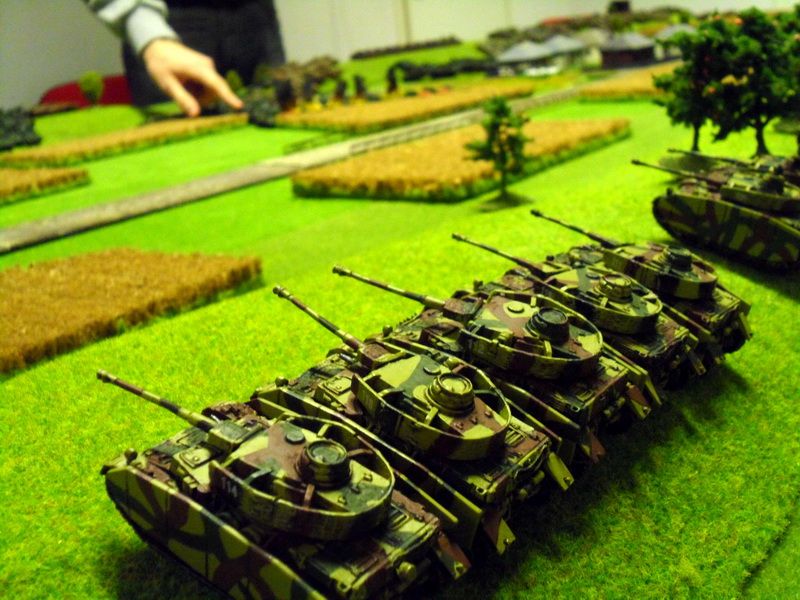
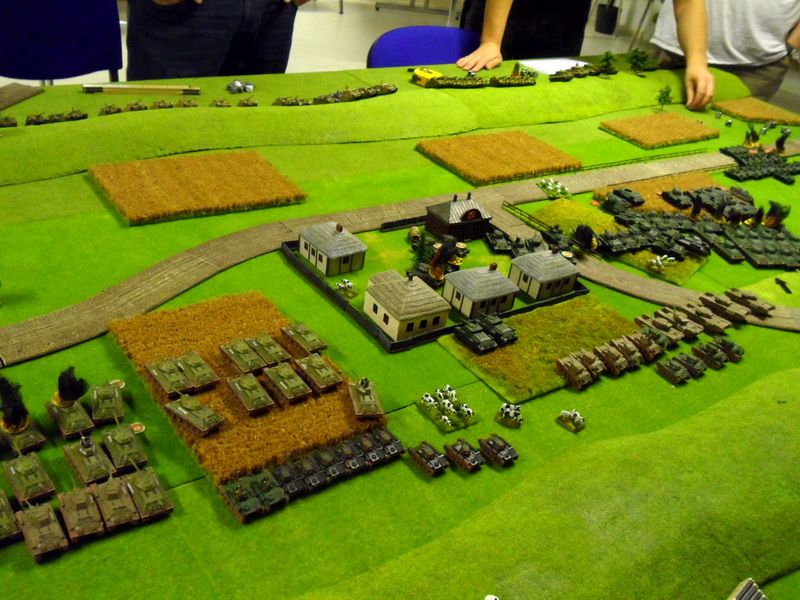
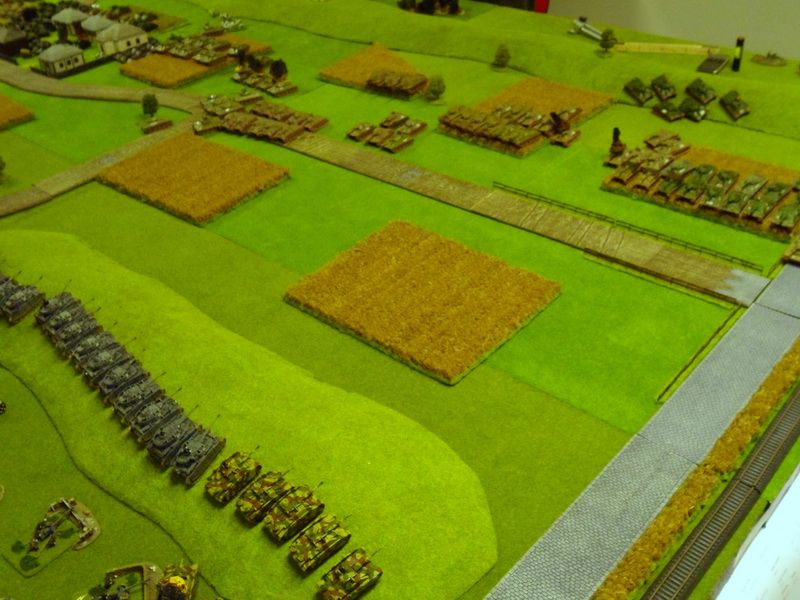
 The West moved lightning fast into position with the horde of light tanks and the center followed suit in order to secure the village in the center. My flank moved slower, partially due to unfamiliarity with Soviet vehicles but also because there were so many tanks it was hard to move them in an organized manner. My idea was to move it all up to the center line where fields and long range would provide some protection, and once every tank had caught up - push them into the German positions.
David who ended up being my opposing commander played it very safe and held all of his tanks just behind the hillcrest occasionally taking shots at Soviet tanks that moved within range.
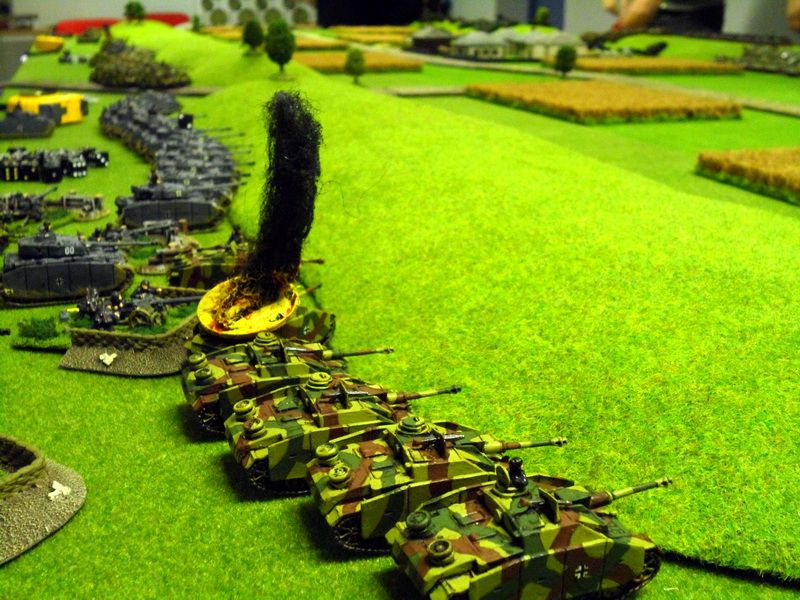
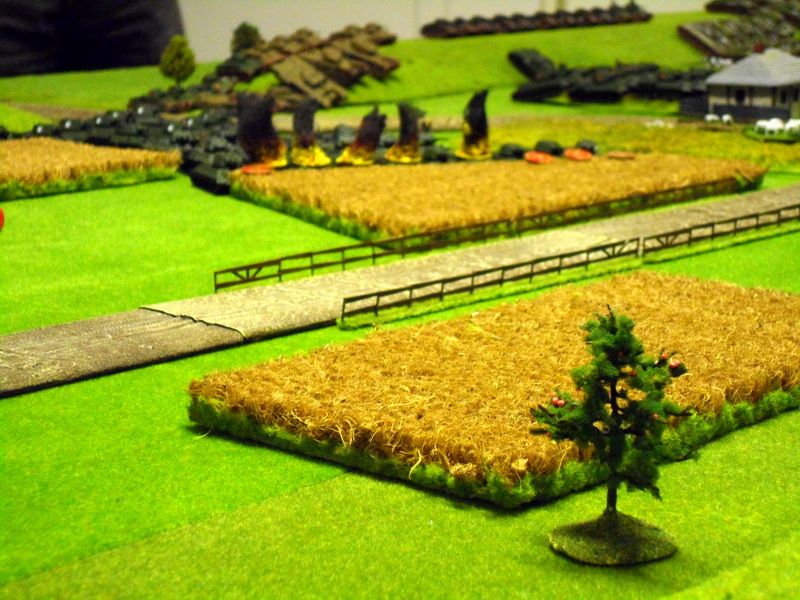
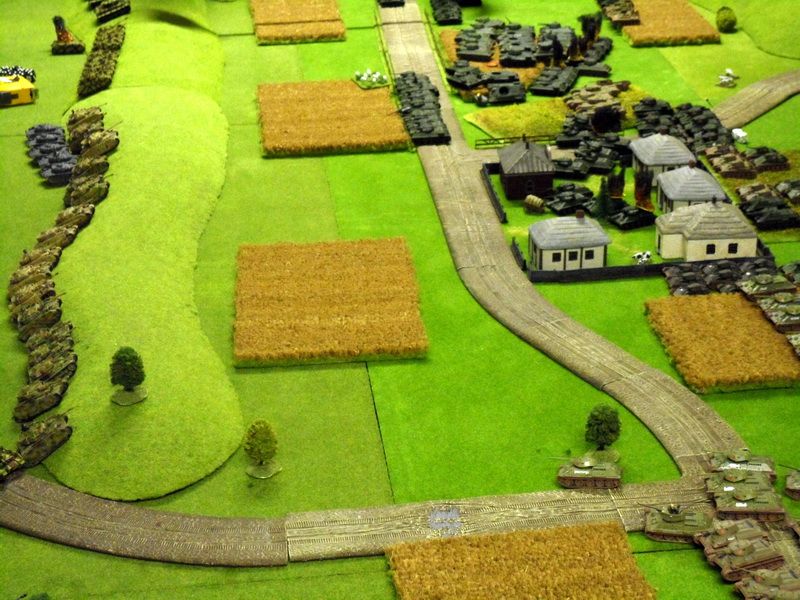
 Already early on into the battle the west and center flanks were filling up with burning vehicles, smoke could be seen from afar and I can't say I envied those flanks having to go up against Wittmann and his Tiger platoon. My own flank was largely unscathed up to turn 3 where things started moving into position. David's tanks were moving back and forth on the hill using "Stormtrooper" moves to snipe my tanks and then move out of sight which made me unable to fire back with the majority of the stuff I had in range. It was extremely frustrating and annoyed me, but I was somewhat confident that my charge would be able to overrun him.
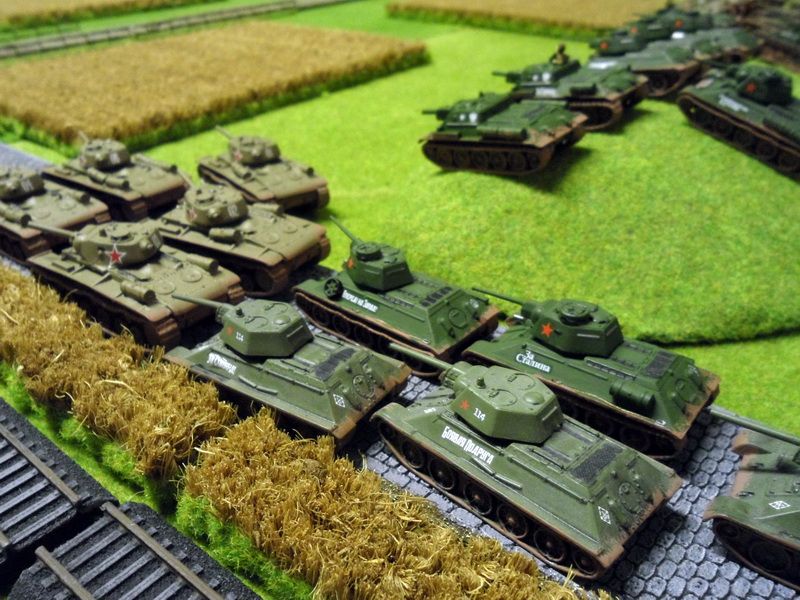
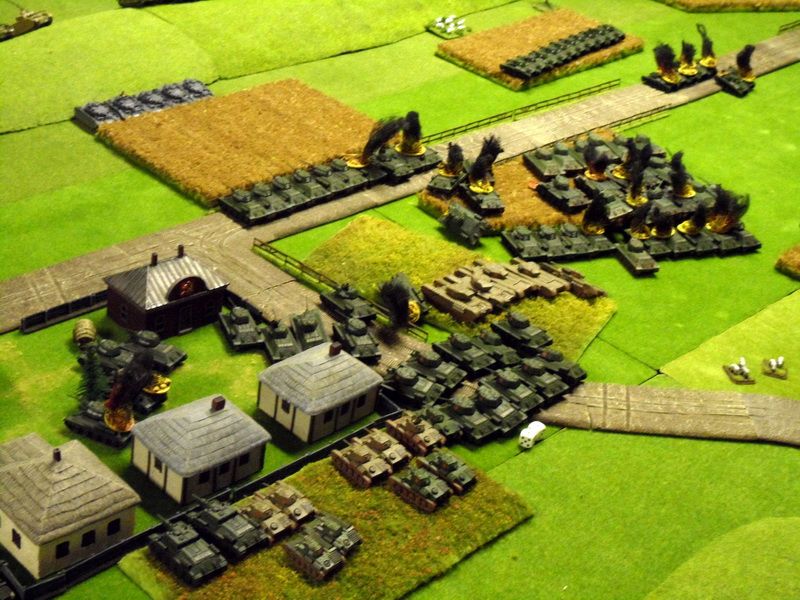
 Of course once actual battle broke out on my flank, my tanks failed to inflict any kind of hits or casualties. I think 3 platoons firing at the same enemy platoon yielded like 1 bailed out result... the whole advance stalled completely for two turn on my flank with some unbelievable (but not fully unfamiliar) AWFUL die rolls. It was just amazing to witness the failure again and again. A slight sting started to make itself noticed on the side of my head, probably the blood pressure from witnessing the farce unfolding.
 As the German center and west flank were handling themselves pretty well, the Germans decided to move in all of their 15 PzIV H tanks held in the reinforcement pool to back up David's flank. Suddenly the tank vs tank ratio dropped to 1:1 with Soviet tanks being killed off like fish in a barrel.
The complete failure of both the die rolls and the many penalties of the Soviet rules left me with a deep contempt for the Soviet army. From the point when the German reinforcements arrived it was all a matter of rolling armour saves and flipping over Soviet tanks for my part. There was really nowhere to move and of course even as the enemy boldly moved up into the face of my tanks I still failed to hit them.
Towards the end of the battle I tried to just get it over with and placed my tanks in such a way that David would be able to take out the die-hard remnants that refused to flee off table. Of course my bad luck worked the other way into these situations as David failed to effectively mop up what was left of my bailed out and leaderless tanks and had to spend something like 3 turns dealing with the last 10% of my army. In the end the eastern flank was massacred, the German side in this sector lost approximately 25% of their tanks at the most.
Elsewhere the Soviets didn't do much better, as the Germans had done the same on all flanks - staying back to receive the charge, soften the opposition up with a devastating salvo spanning a couple of turns and then moving into countercharge mode. What ground was won early on was in the end all lost by the Soviet side. The most impressive feat and something of a propaganda success story on the west flank was how a tiny T-70 tank managed to escape death when the rest of his company was annihilated and kept driving in circles around Wittmann's Tiger platoon which kept missing the little bugger!
I'll post the second half of the pictures and the summary and my thoughts tomorrow. Sorry for the random picture quality, the light down at the location was pretty bad.


No comments:
Post a Comment