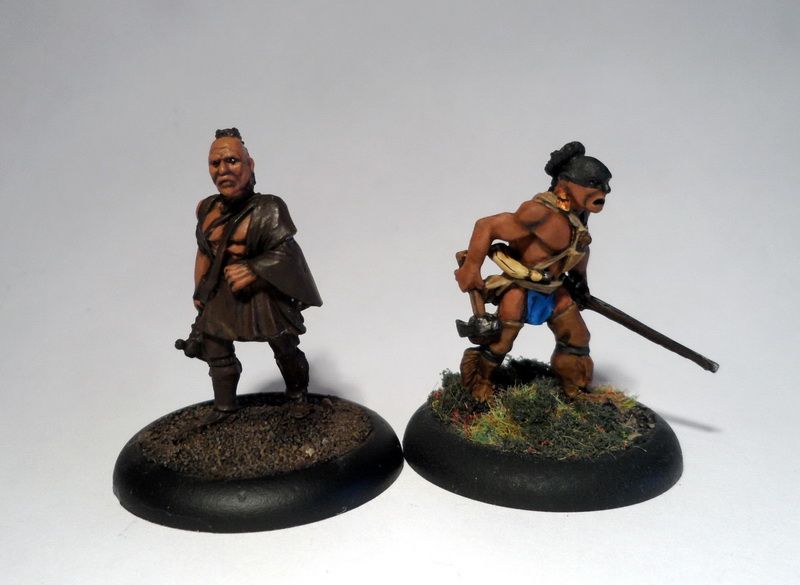
This will be a tutorial showing my latest technique and recepie for how to paint woodland indian flesh. It's been a few years since I painted my native American miniatures for This Very Ground, my skills and style has since then evolved a bit so when I painted Magua from the Last of the Mohicans blister I decided to paint him up the way I would paint indians today rather than mimic my old paintjobs.
Many of the steps are actually shared between my new and old method, and the first couple of steps can be easily used by people who just want a basic paintjob or who have to paint a lot and don't have time to spend hours on a single miniature, the last couple of steps are the advanced/evolved result.
You could most likely find a "indian fleshtone triad" from Wargames Foundry or some other manufacturer, but if you are like me - a person who prefers to spend cash on miniatures rather than owning every shade of each color imaginable (most of which are very used rarely) then you have to learn how to mix your own stuff.
If you are having a hard time mixing large enough quantities or like taking your time with each layer and not having to worry about the mixed paint dry on your palette then you could either mess around with a wet palette - OR use a more convenient method and get something like Vallejo Game Color "Glaze Medium 72069". This can be used as a drying retarder but should be used carefully, a drop or half a drop is enough to keep your mix from drying while not ruining texture and consistency. Also be careful as the drying time of the layers applied on your model increase with the amount of Glaze Medium you are using. It's easy to smear the paint if you aren't careful.
For this tutorial I simply mixed small quantities on my palette using nothing but water. But if I was painting more than one miniature at a time I would use the Glaze Medium.
The following paints are used for the flesh in this tutorial:
Vallejo: Charred brown
Tan
Dwarf Skin
Citadel:Averland Sunset (yellow)
The Army Painter Warpaints:Strong Tone
Soft Tone
Anti-Shine
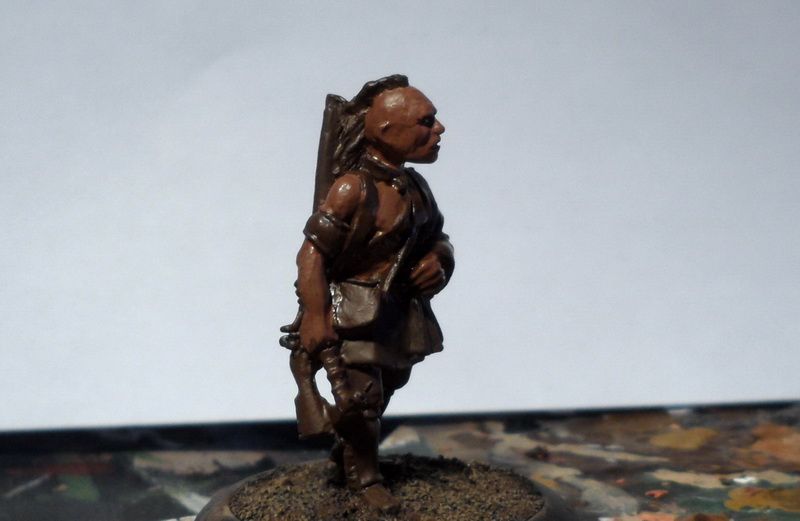
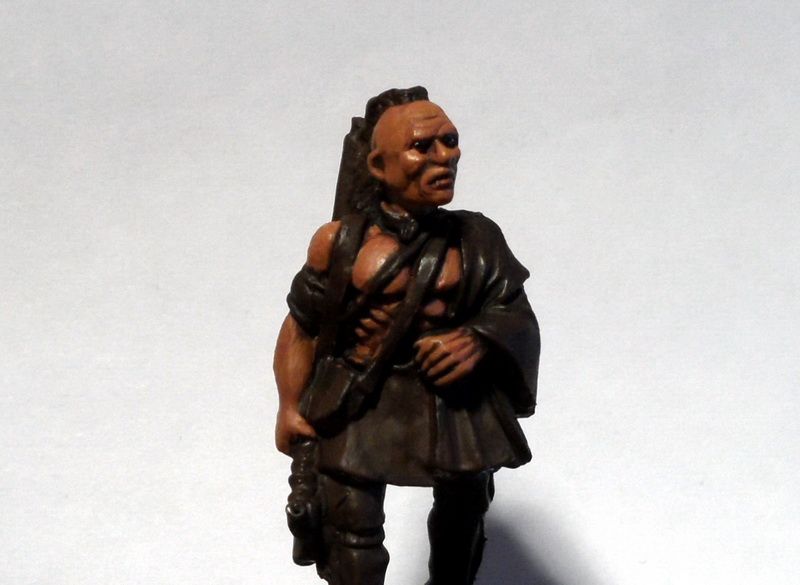
Step 1The model is basecoated with black spray, then basecoated with Charred brown.
Step 2Mix Charred brown and Tan, 75-25 ratio, paint all of the skin evenly but not too thick.
Step 3Wash the skin with Strong Tone to add deep shading.
Step 4Mix Charred brown and Tan , 60-40 ratio, paint the muscles in a way so that you leave some of the shading. The paint should be relatively thin but still able to cover well.
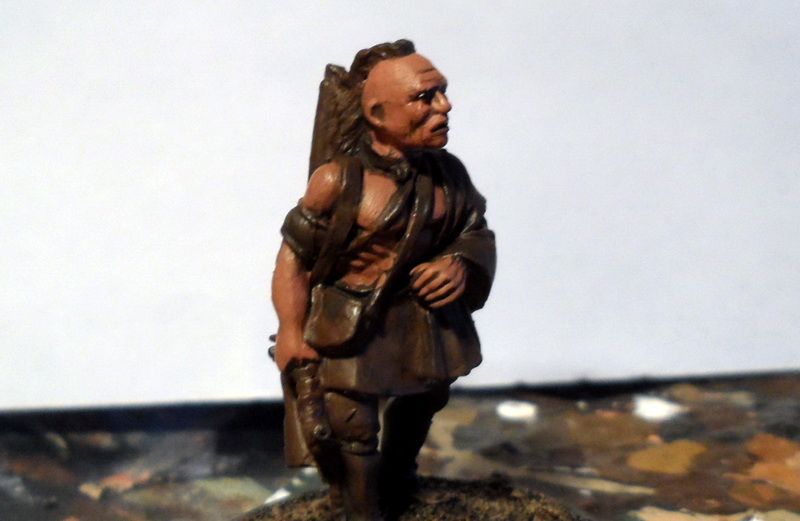
Step 5 (Basic paint job ends here)Use a mix of Charred brown and Tan, but increase the amount of Tan to a 40-60 ratio. You should be able to highlight the muscles and facial features even further. Then wash the flesh with Soft Tone to mute the colors a bit and give them a slightly bronzed tint. My early woodland indians were painted this way and I think that you could well end your painting here if you like the result. If you want to achieve a slightly more advanced end result then use step 6 and 7
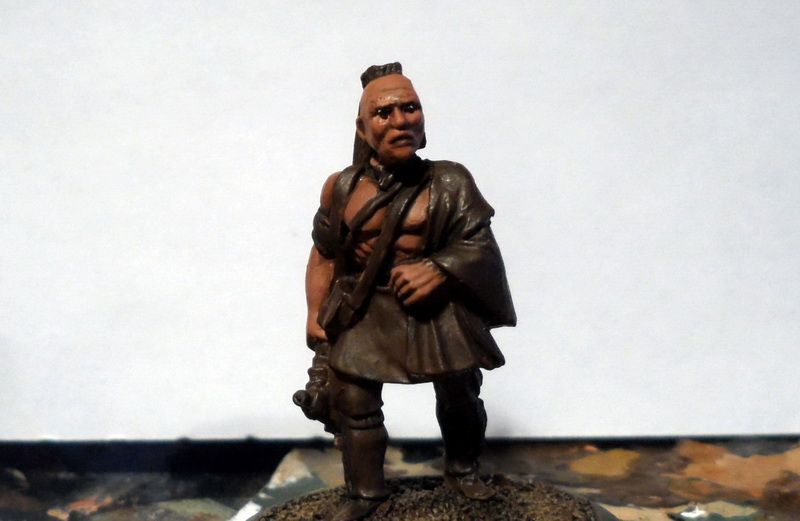
. Step 6 (Advanced paintjob)The reason for the next two steps is to make the skin less dark and a bit more bronzed. I used pictures of Wes Studi in his role as Magua in "Last of the Mohicans" and tried to achieve a similar skintone. Using the following two steps also highlights the model further and enhances details and facial features.
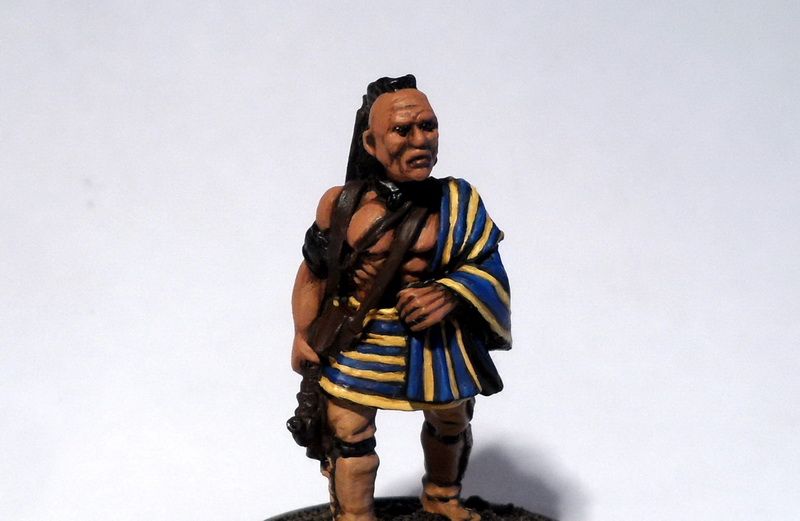
We still use the basic mix of Charred brown and Tan, but now add yellow to the mix in 50-20-30 ratio. This layer is quite thin and required around two brushstrokes to fully cover the previous layer. Make sure that you leave the previous layers visible to create or enhance wrinkles, shading, facial features etc.
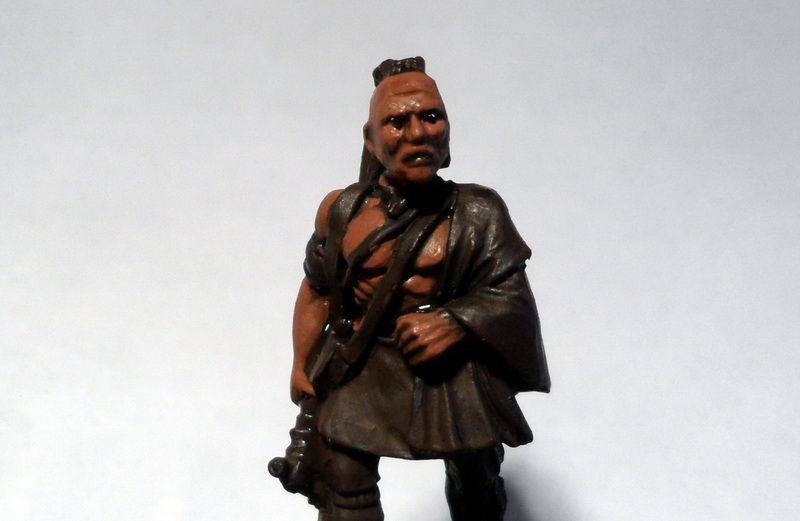
Step 7(Advanced paintjob)For the final layer we add one more paint to the mix. Blend Charred Brown, Tan, Yellow and Dwarf Skin in a 25-25-25-25 ratio. This layer should be very thin and pretty much a glaze. A glace is a thinned down pretty transparent layer of paint. You should be able to touch an area on the model with your paintbrush and rub this thin layer off gently with motion rather than brush strokes.You can trace muscles, brows, cheekbones and such with your brush and see them gradually being highlighted in a subtle manner.
The glaze should be runny enough to rub off effortlessly from your brush - but not too watery as to drip or run once applied. Your best bet is to keep mixing paints and water on your palette until you are confident with the consistency almost rub it off on the areas.
The lips are painted with Tan and then washed with Strong Tone to darken them.
Matt VarnishingI also use Army Painter's brush on matt varnish called "Anti-Shine". I find it to be a superb and reliable product. Matt varnishing will mute the colors a but but also make the surface a lot smoother. It has to be applied without any thinning and in amounts as if you were basecoating a model. It remains sticky and glossy for about two hours and does sometimes require even more to go dead matt and completely dry. So don't panic prematurely. One thing to know about this varnish is that it goes sticky fast, so make sure you apply it and cover segments of the model at one time. Disturbing a drying layer can make the surface uneven, or if you accidently touch it with your finger you can end up smearing the varnish and the paintjob! So be careful. Also - either base the miniature with flock and static grass before you apply Anti-Shine OR wait until it is 100% dry. I made a mistake once when I varnished the model and then forgot myself and flocked it. I had hell trying to gently remove static grass from the sticky surface.