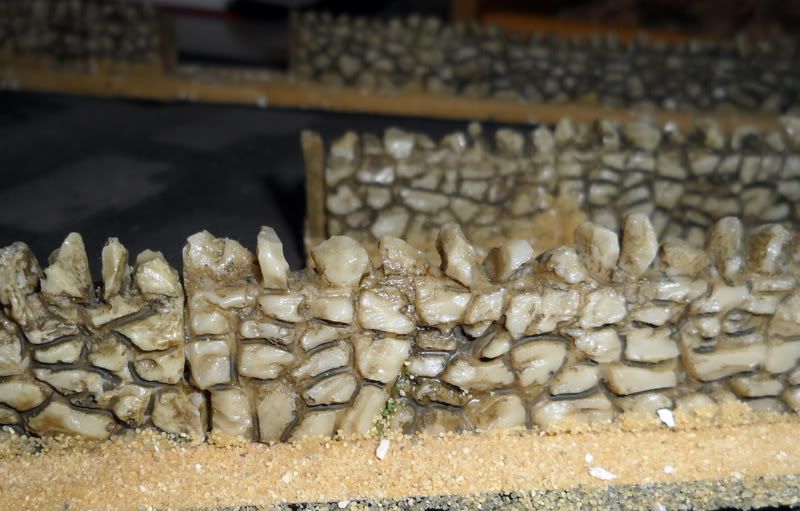
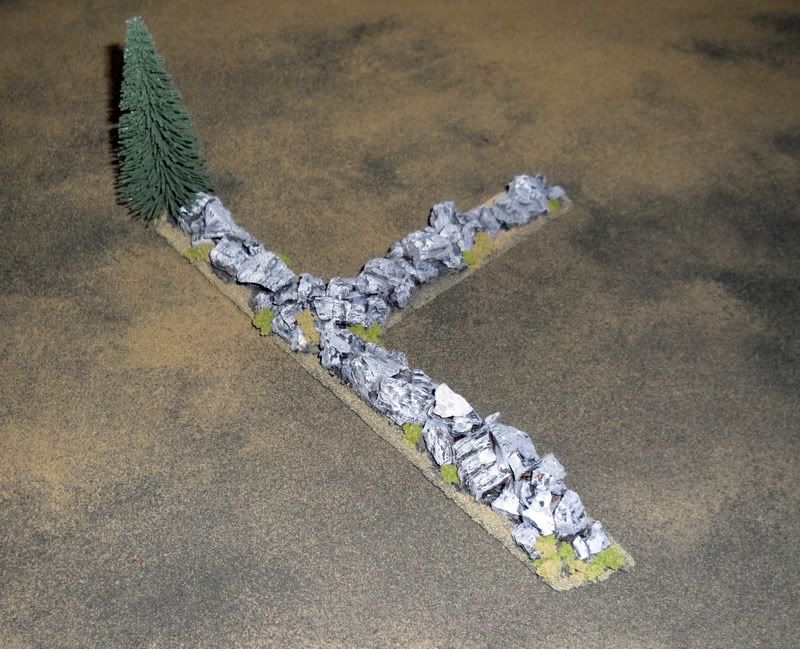
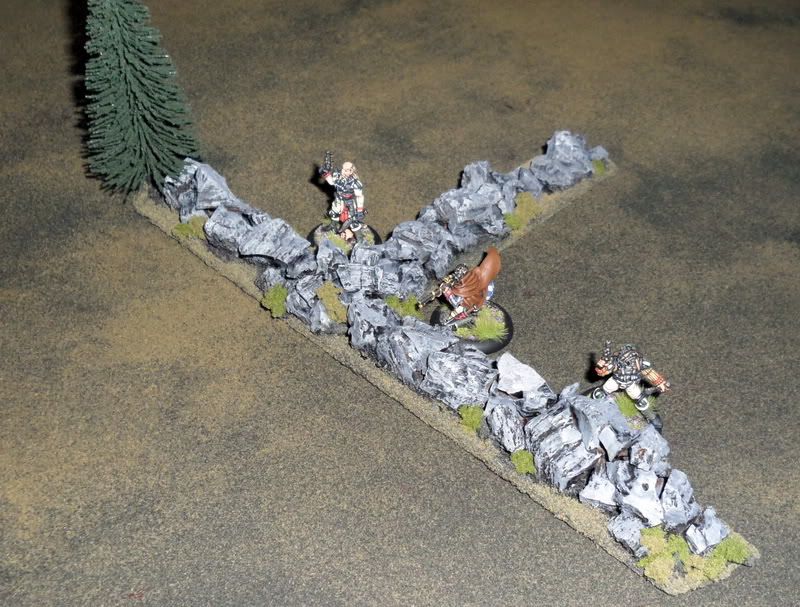
First the resin walls that you might have seen a lot in my battle reports. They weren’t "that" bad but having them modular and not glued together was proving to be hell when playing as it only took a gently nudge to mess upp the setup. So I glued them to some sticks and painted them up, used a mix of Earth and Soil turf for the base just as I did on my new gaming surface - in fact most of the terrain being built at this point will feature that specific blend.
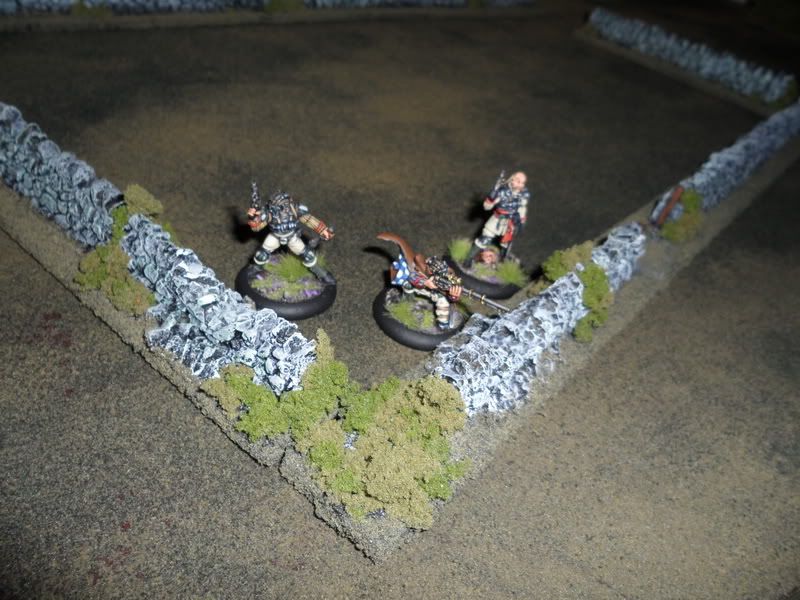
I also used some of the foliage (used for my "knocked out tank markers") to create small shrubs.

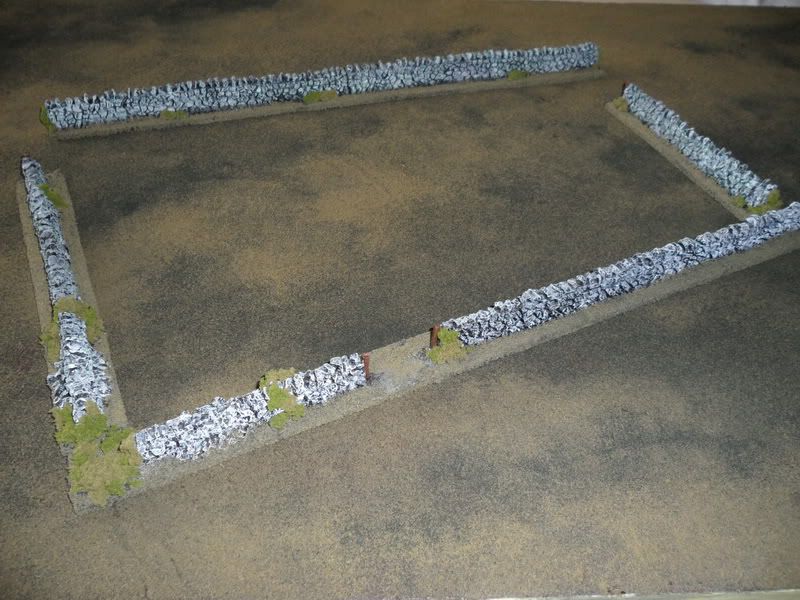


 And lastly the new hedges. This is a funny story and just proves that you should not throw stuff away because even crap may come in handy in the future for all you know. These bushes were made many years ago when I played Warhammer Fantasy. They were initially made out of a stick for a base and a thin Styrofoam slice for the "hedge". These had been painted with brown paint and then flocked with some ugly looking bright green flock. The hedges themselves looked more like something you would find in a suburban neighborhood than out in the wild. For some weird reason I just kept these crappy hedges around, and while tinkering with my new terrain I thought I would try something out.
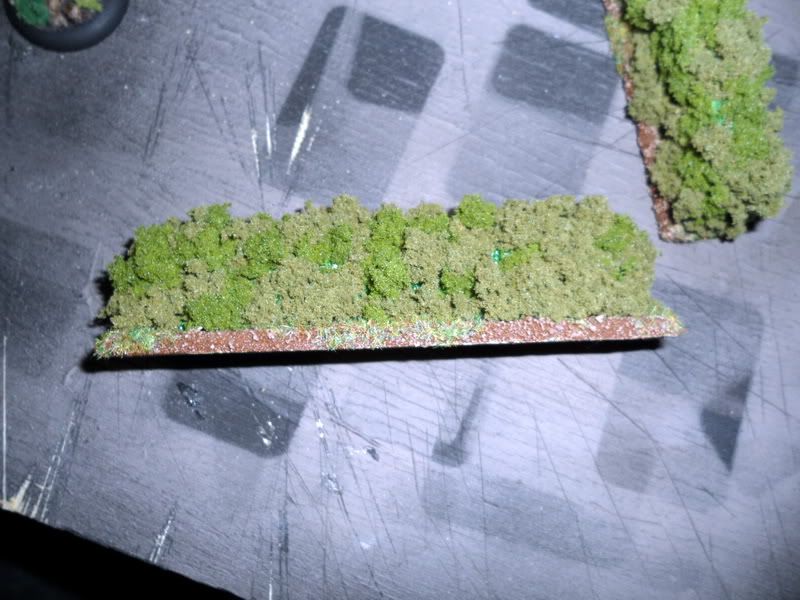
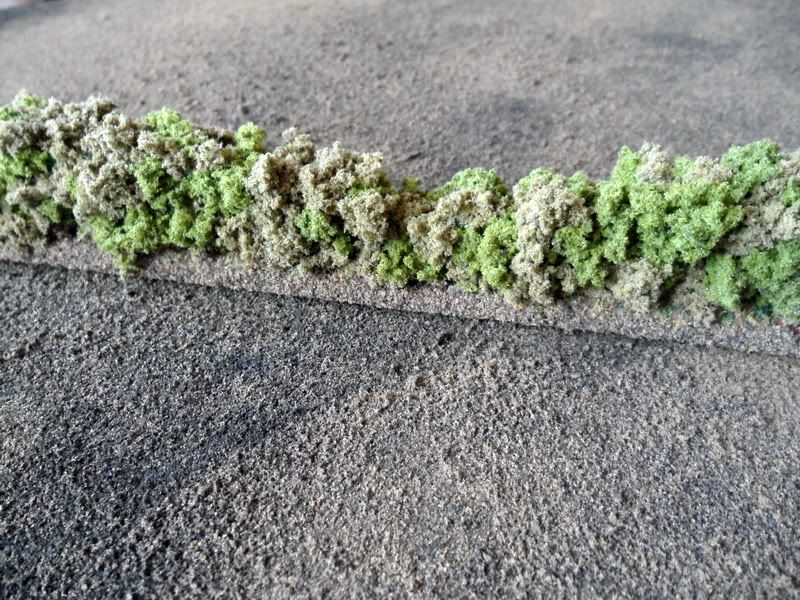
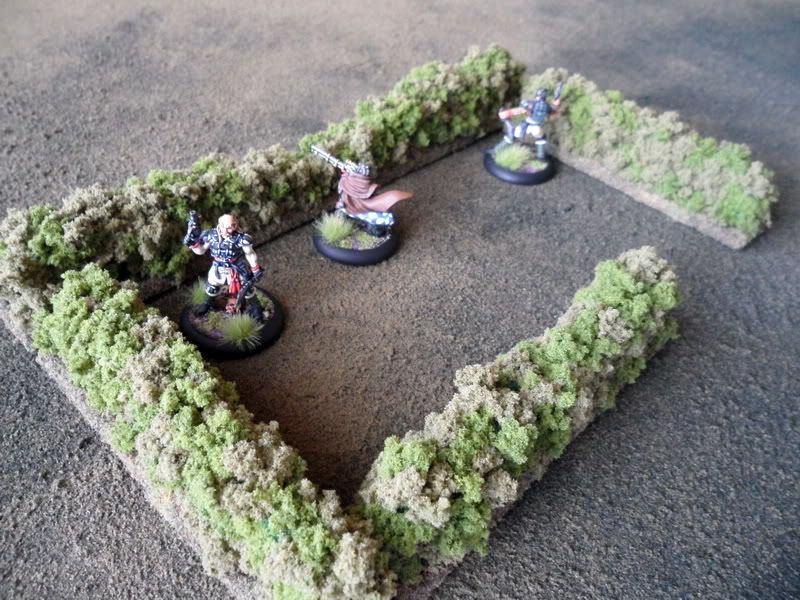
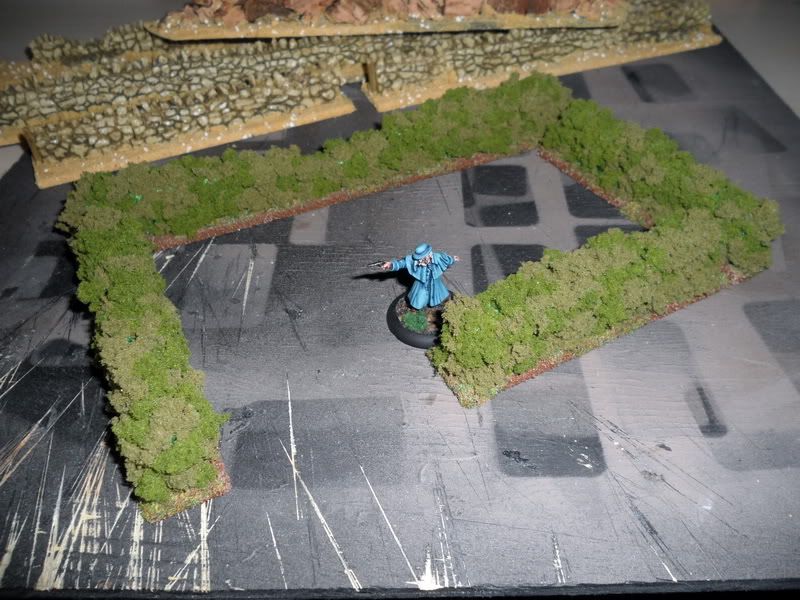 So I took the clump foliage bags from Woodland Scenics I had bought from Maelstrom Games and superglue the foliage thickly and roughly all around the hedges (try to have at least 2 shades of the foliage). Picking away excess foliage not glued in place and tearing away pieces that were barely hanging on. The end result was a more natural looking and fluffy hedge. I was so happy with the end result that I might buy more foliage and create more hedges like these.
 All you need is a thin slice of Styrofoam, like 1-2cm thick. Cut it in a appropriate height, you can make it irregular if you like. Coat it in PVA glue so that it won’t melt when you apply superglue, and glue one side of the hedge at a time, completely cover the side with superglue and smack a handful of foliage to it and press it down with your fingers so that it completely attaches to the side of the Styrofoam frame. This process is very fast but consumes a rather large amount of super glue. You could substitute the superglue with something else, PVA glue even, but that just takes way too long to dry imo.

No comments:
Post a Comment