

 Introduced the game to a new player yesterday so we went along with the very first scenario (which isn't bad in any way). For those who have not read previous AAR's from this scenario, basically the Stark army is split up in two groups by a river. Their goal is to quickly get their infantry and remainder of their cavalry over the river crossings and prevent the Lannister army to cross the river and capture the two objectives.
The Lannisters are under time pressure as the scenario only lasts 5 turns, so they have to move swiftly. The biggest problem for the Lannisters is usually having the infantry led by Kevan Lannister to cross the river due to Stark bowmen covering it. So here is how the battle went this time around.
....
Stark starts with initiative (and kept it for the remainder of the battle)
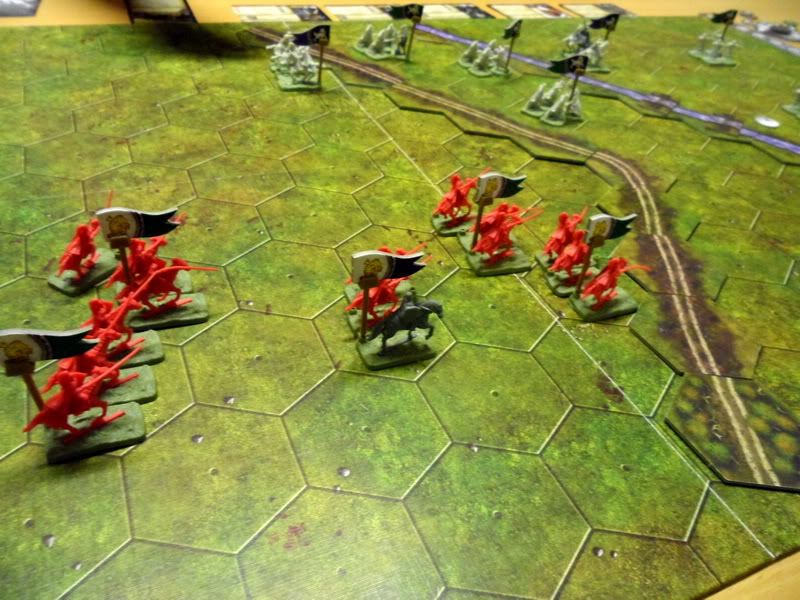
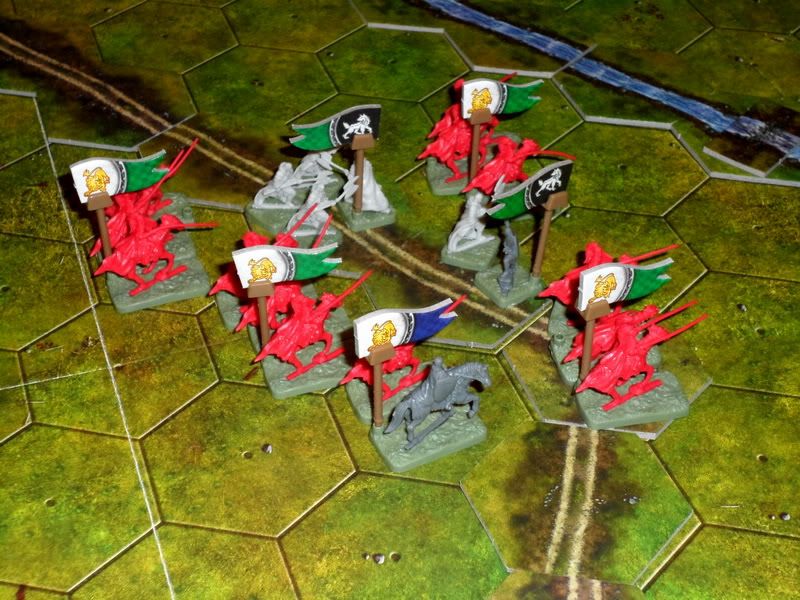
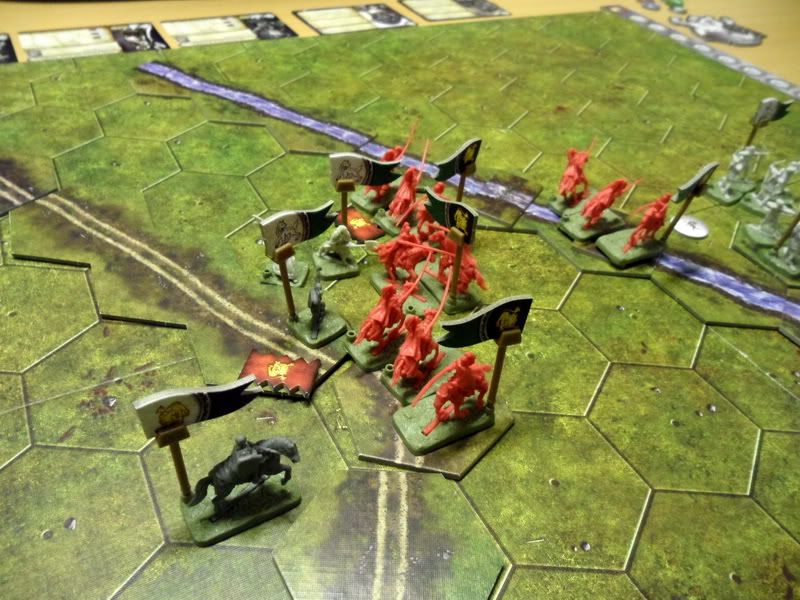
Maege Mormont led the Stark infantry joined by the lone cavalry unit along the river, meanwhile Adam Marbrand led the Lannister light cavalry towards them to halt their advance. Rickard Karstark ordered the Stark archers to position themselves on
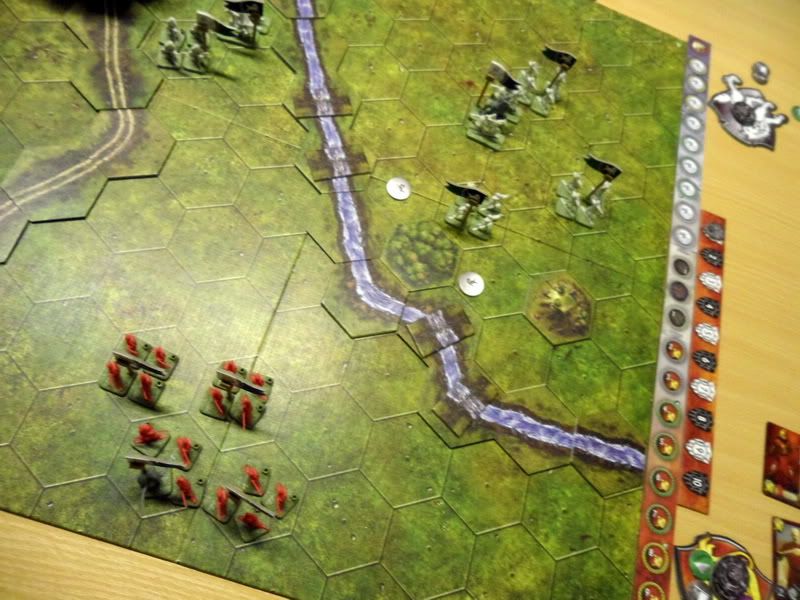
 the nearby hill, the nearby forest and the last unit to cover the rear approach, all archers units having nice line of sight to the river crossings to halt any approaching Lannisters.
The Lannister cavalry rides in force towards the Stark infantry, Adam Marbrands unit gets intercepted by the lone Stark cavalry which manages to inflict light casualties before they are wiped out by flanking Lannisters. The Lannister cavalry smashes into the tightly packed Stark infantry, casualties inflicted on both sides, a couple of Lannister light cavalry start to rout.
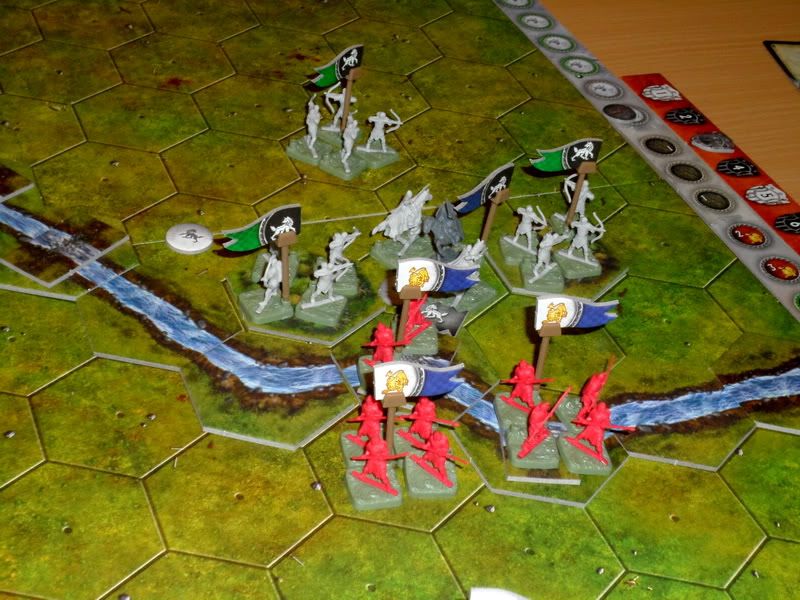
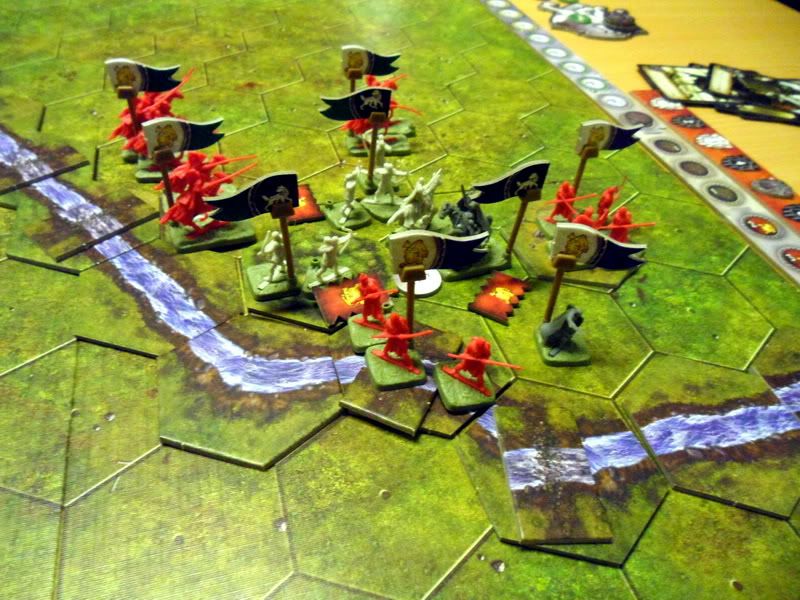
 As the Lannister infantry start to cross the river they get in a crossfire, take some casualties and rout back out of the river. They soon rally and try to cross the river again, this time in force pushing forwards despite taking casualties, Rickard Karstark rides up to protect the objective and provide cover for his archers. The weakened Lannister infantry that was just about to leave the river on the Stark side gets destroyed by lord Karstark, but Kevan Lannister and the remaining 3 Lannister infantry units push on and breaks through. Engaging both Stark archer units
 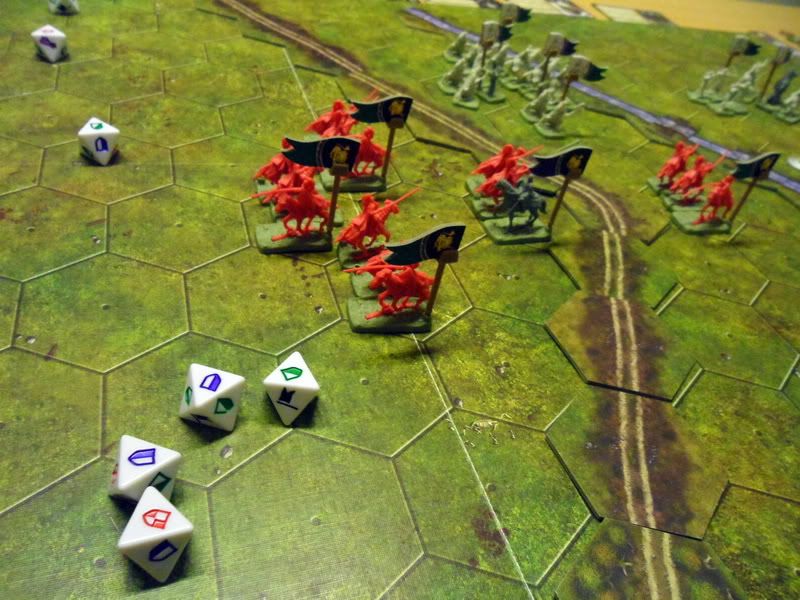 and the Karstark cavalry unit.
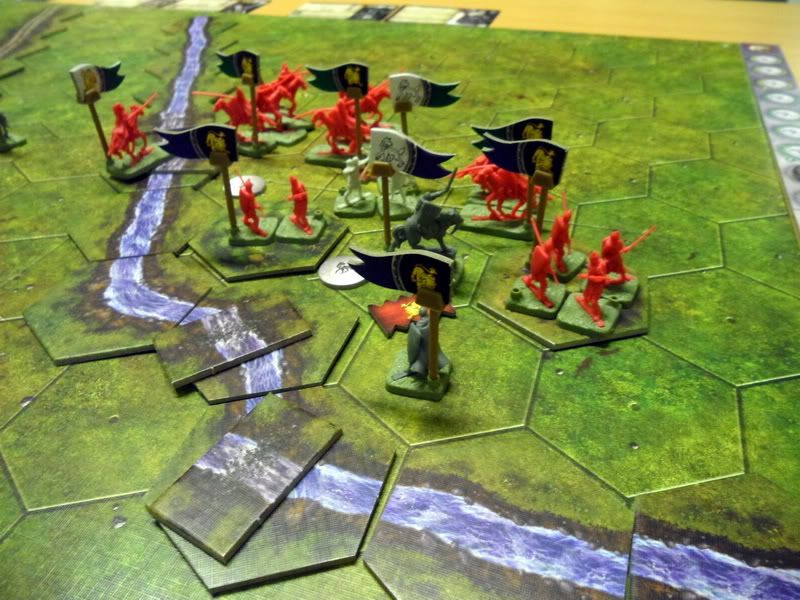
On the plains to the west the Lannister light cavalry keeps fighting the hard pressed Stark infantry led my Maege Mormornt. In the end Adam Marbrand and the rest of the Lannisters manage to surround the remaining Stark troops and annihilate them, capturing lady Mormont and turning their attention towards the events on the other side of the river. While riding towards the
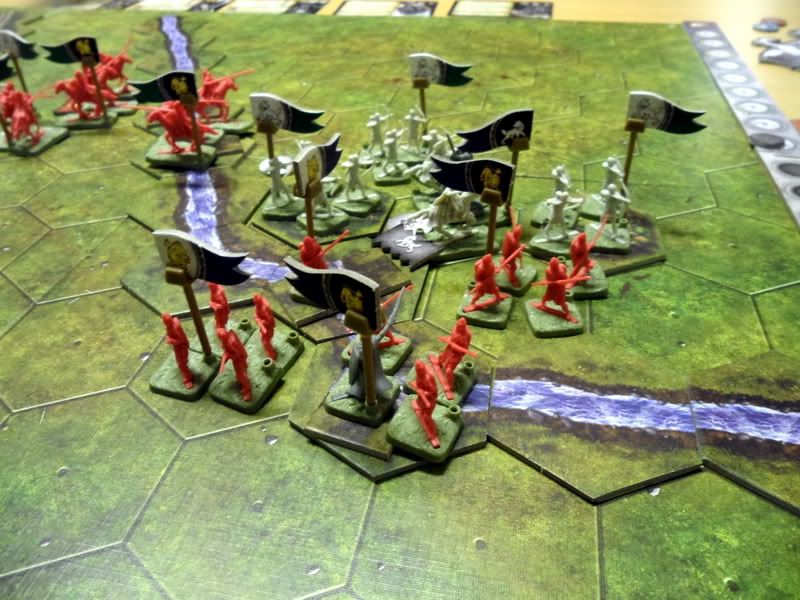
 crossing they come under fire from Stark archers and the cavalry leading the charge gets destroyed.
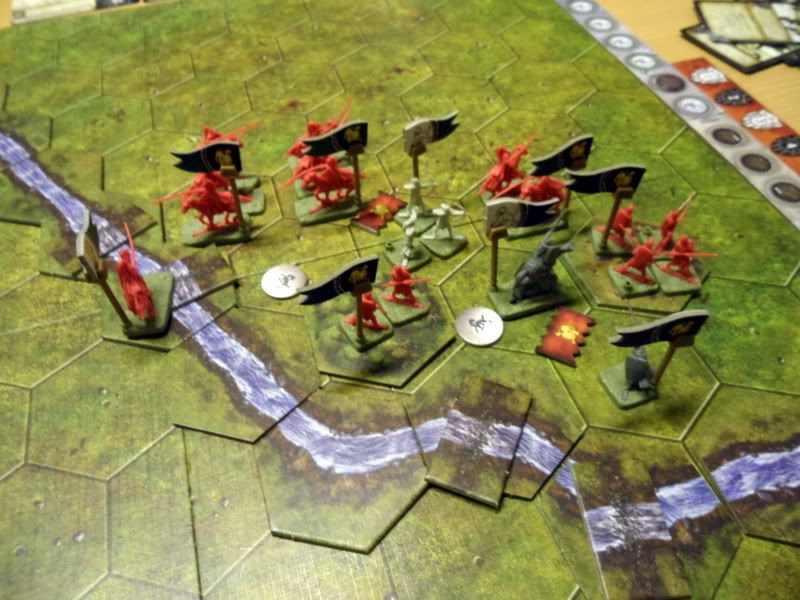
 At this point things look grim for the remaining Stark units. Fighting retreat battles the archers on the hill loose their ground, Lord Karstark and Kevan Lannister fight like madmen killing the retniue of their opponent and ending up pretty much dueling for the objective still under lord Karstarks protection. Lannister infantry finally manage to push the Stark archers out of the forest, and as Adam Marbrand orders the remainder of his light cavalry to cross the river victory seems to be at hand. Though the Lannisters fail to make the very last push and the Stark side holds out just long enough to win a pyrrhic victory if ever there was one. Save by arriving reinforcements and having the Lannister army break off their attempt to capture the other side of the river.
....

 The battle was just crazy, but in the end I spent too much time and effort using my cavalry slaughtering the Stark infantry. It would have been better to send at least 2 units of cavalry across the river sooner, but the Stark infantry just refused to die despite being outnumbered for 3 turns until I finally surrounded them completely. And as the game relies on commanders being close to their troops, it would have mean that those lone Lannister cavalry units charging across the river would be hard to command with only order tokens. Nevertheless, it was pretty amazing how the last push just fell short being so close to victory. Even more amazing that not even the objective to the west was captured. The Stark archer remnant protecting it was killed by Lannister cavalry, but there were no Lannister units left to move in and claim the objective. And Rickard Karstark is so hard to capture that I was constantly hoping he would just rout so I could move in with infantry and claim the objective left behind, but he remained firmly in place.
You can learn more about this game by checking out my multi part review in the "boardgame review" section of this blog.
No comments:
Post a Comment