Just as with the infantry, the colors are not 100% historically accurate, halfway through the tutorial there will be a crossroads at which you can go in either direction - more historically accurate or going for the look I'm using. And as the title implies, I use the same technique and choice of colors on artillery. The light might be a bit dodgy on some of the pictures, I tried to fix that with ACDsee afterwards, but the bone white looks really bright on some of the pictures - almost white. That is not the case IRL.
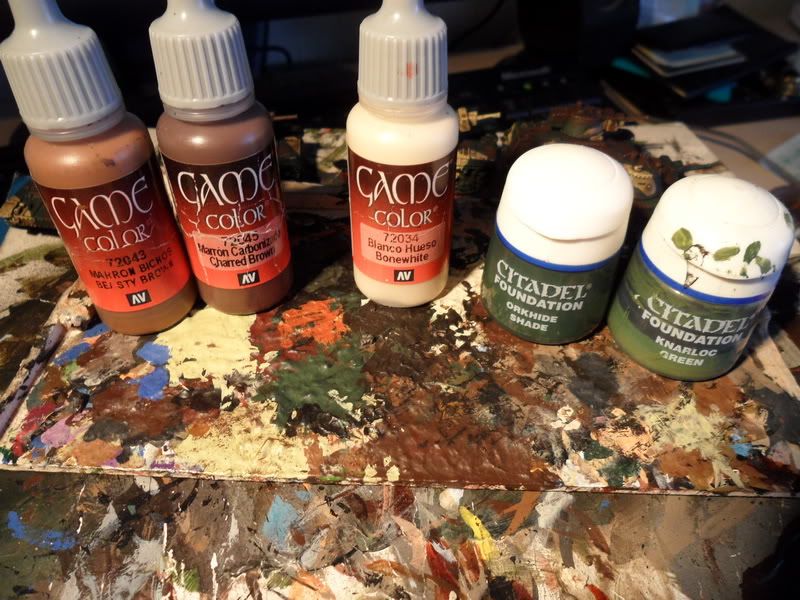
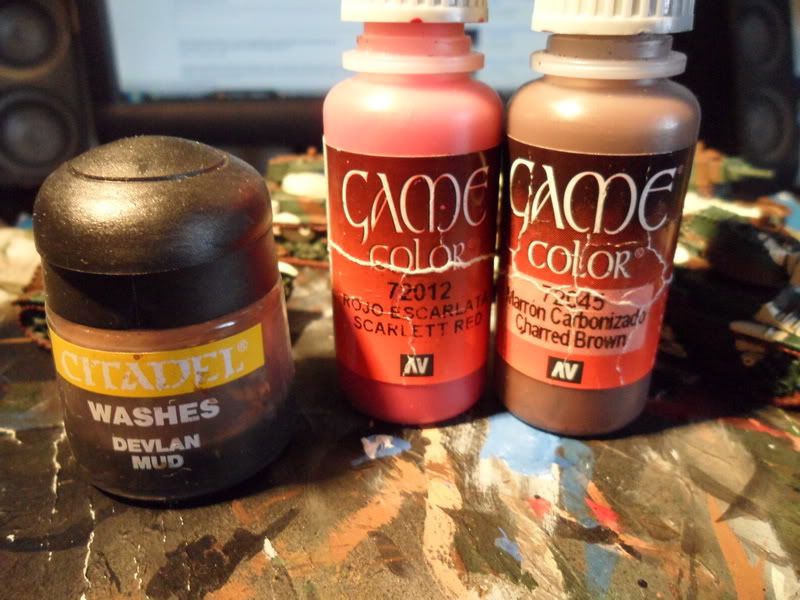
Paints used are Citadel foundation paints, Citadel Washes and Vallejo.
Phase 1
Step 1) Make sure you have a decently sized brush, I do almost all the work on these tanks with a size 3 brush, that is a slightly larger "undercoat" brush but still small enough to allow you control when you paint the camo patches.
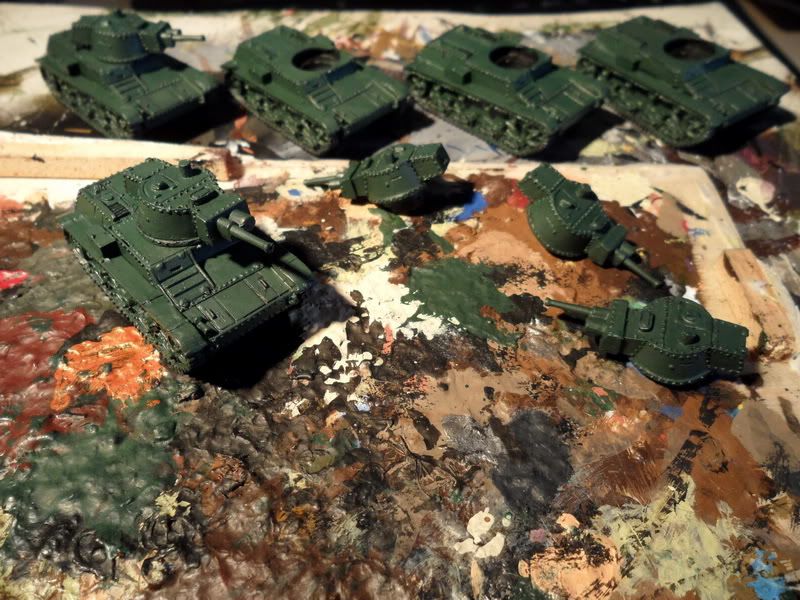
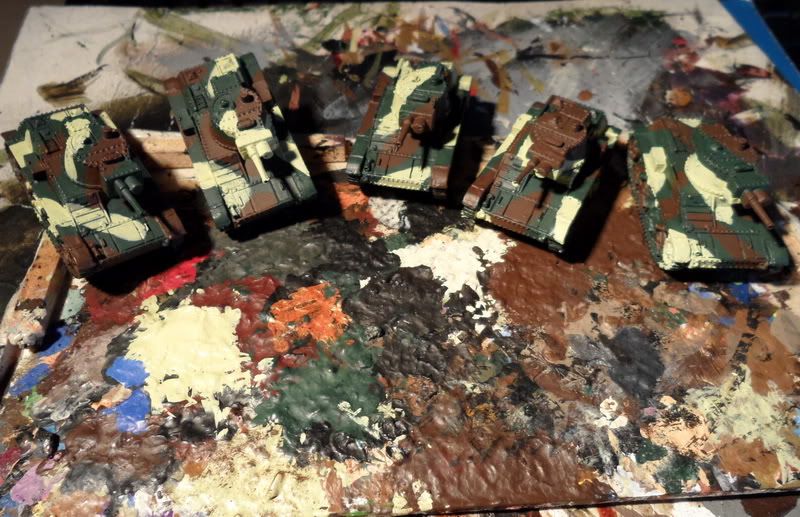
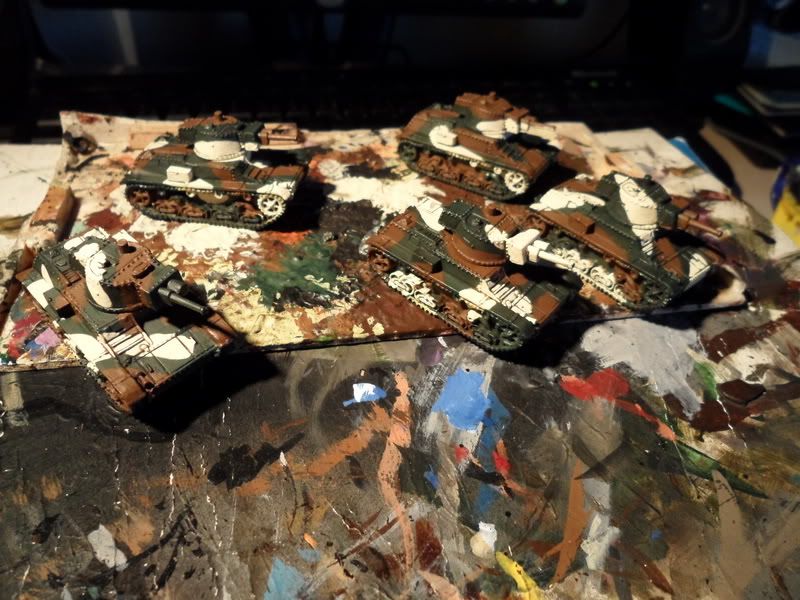
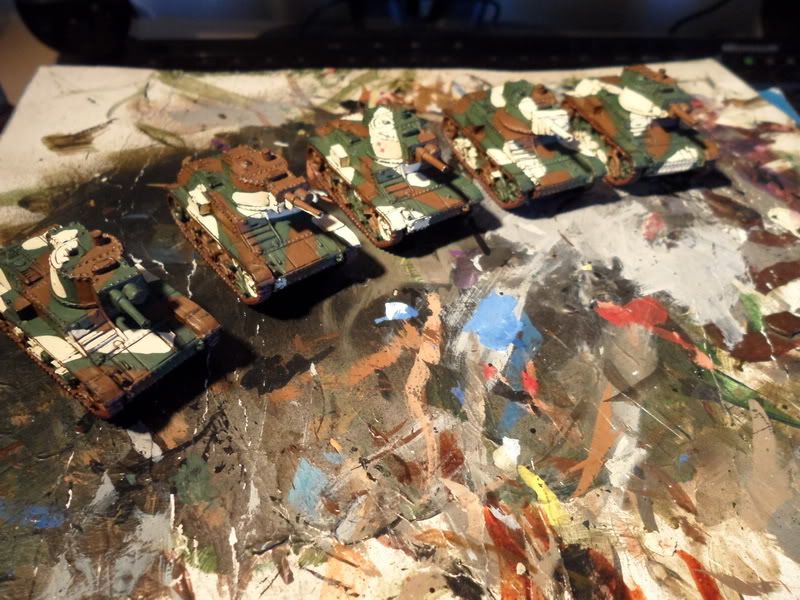
For the first As always I prime the models with black undercoat, then basecoat them with Orkhide Shade. Then paint the first camo patches using pure Scarred Brown. Second layer of patches are painted with Dead Flesh or something like that, the label is worn out (sorry)
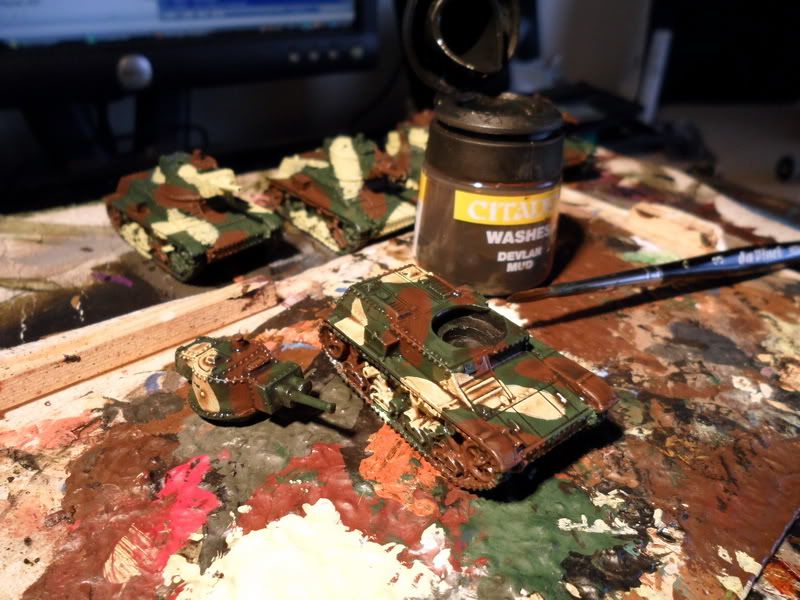
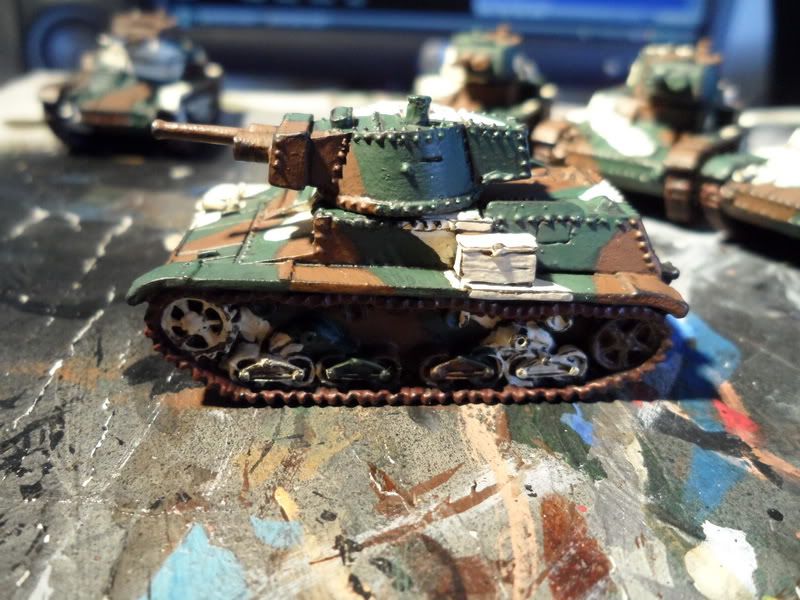
Step 2) Give the model a generous wash of Devlan Mud. This is important since you want the wash to really settle in the crevices and cracks so that you won't have to do blacklining later on. Now when the wash dries the look of the vehicles would pass for a 1939 Polish vehicle camo, in that the light camo patches are sand colored. And if you feel that you are satisfied you can skip to the step 6.
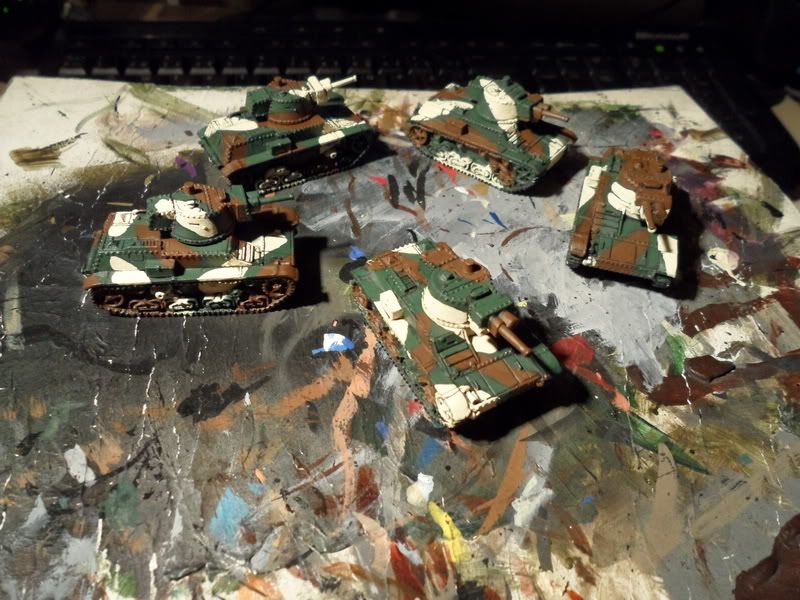
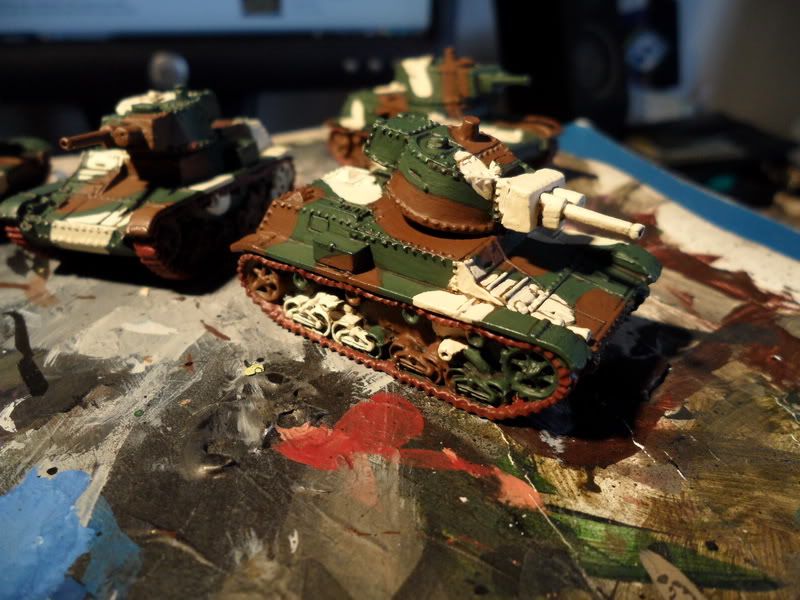
Phase 2) Here's where most of the work is done, and what takes most time. The following steps include mixing paints and applying the paint carefully enough not to paint over the dark cracks on the model, and to leave a bit of the previous washed layer visible. Having the exact right mix of paint and water is important, you don't want the paint to be runny and settle in the crevices, or too thick and sloppy. If you have to paint in multiple thinner layers - especially when it comes to the Bone White camo patches.
Step 3) Start out by mixing Scorched Brown with Bestial Brown 50-50 and repaint the camo patch, don't worry too much about the edges bordering to other colors at this point.
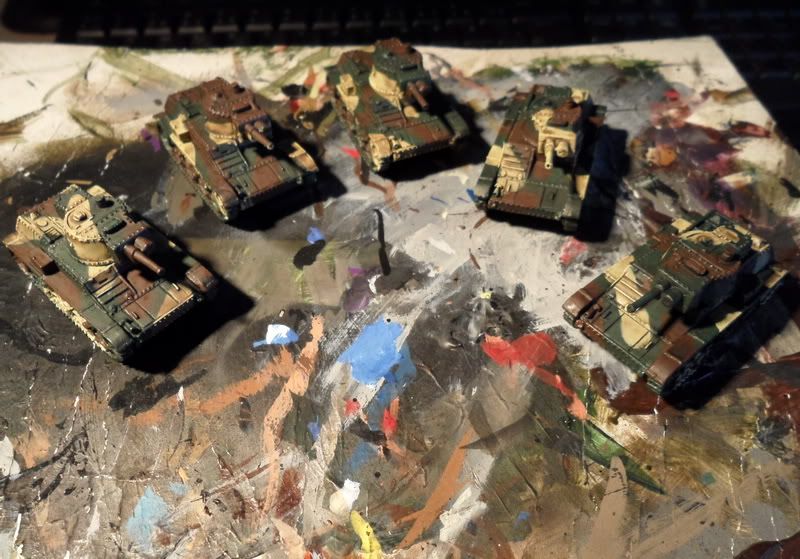
Step 4) This step guys is the one that will give you most payoff at the very end, painting the bone white camo patches. I use Vallejo Bone white since I ran out of Foundation Dheneb Stone. With the foundation paint I would have save about an hours work, but with the Bone White I had to paint thinned down multiple layers on each patch to get a good cover and to leave just enough "dirt" to define some of the details.
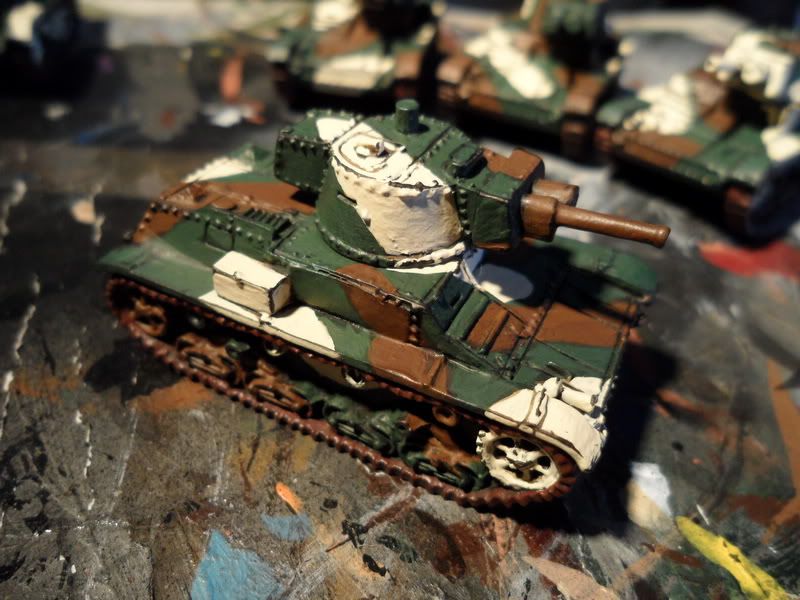
Step 5) Last step on painting camo and the "cleanup" step. I find the 50-50 mix of Knarloc Green and Orkhide Shade covers other colors more easily so I save this for last to really clean up the shapes and edges of the camo patches and to give the green basecoat a bit more depth.
Step 6) Time to paint those tracks, the tracks being covered in all your other colors at this point are simply painted over with a 50-50 mix of Scarlett Red and Scorched Brown, followed by a generous but controlled wash of Devlan Mud.
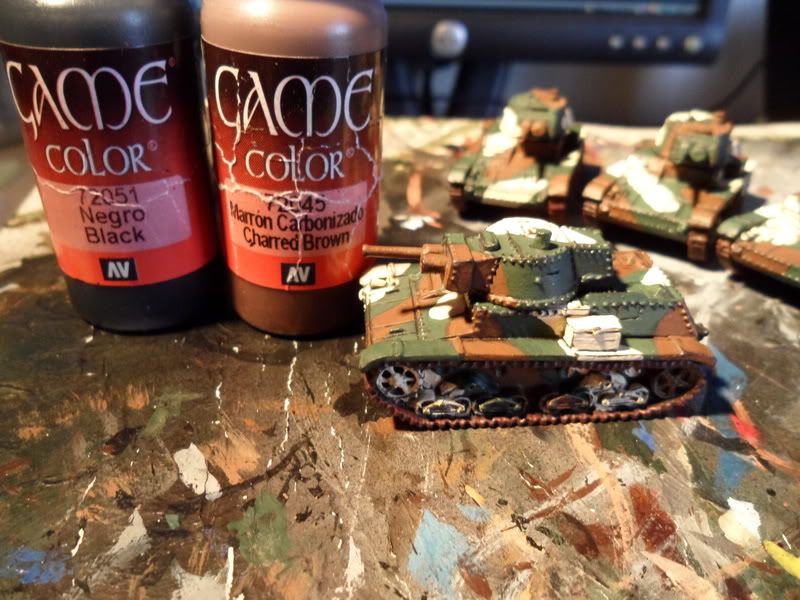
Step 7) I define the sharp edges on the model using a 50-50 mix of Black and Scorched Brown, then drag by brush along the edges to create a slightly worn look. For the wheels inside the track just give it a gentle 2 stroke drybrush
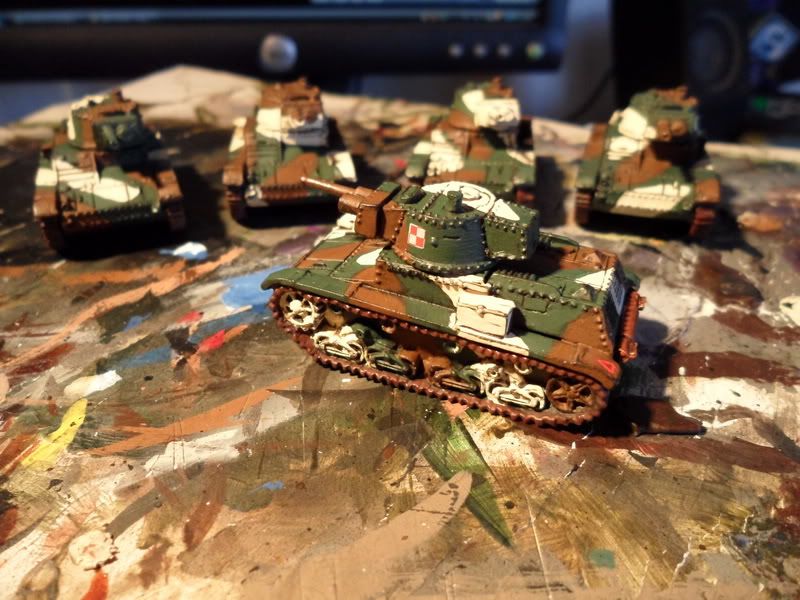
Step 8) Last step, paint the exhaust with Copper and give it a heavy wash of Devlan mud. If you have any transfers or unit markings you can apply them now as the model is fully painted.
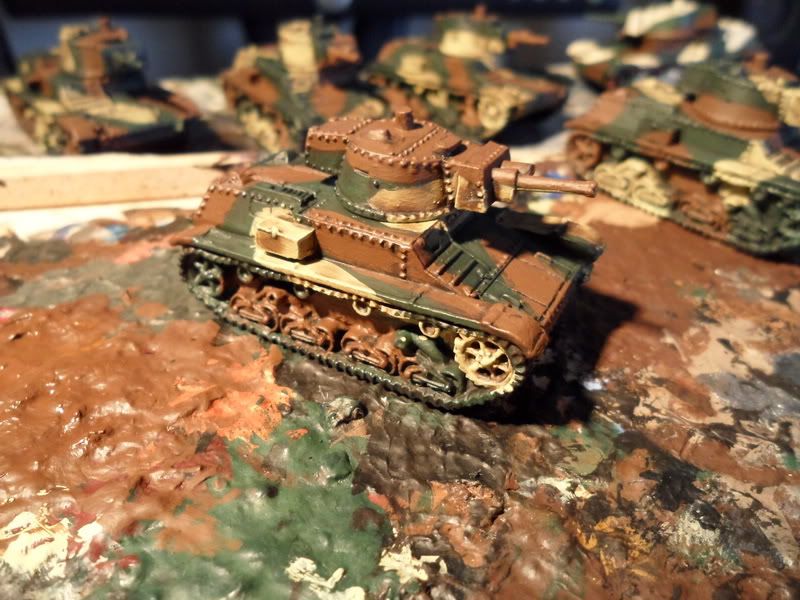
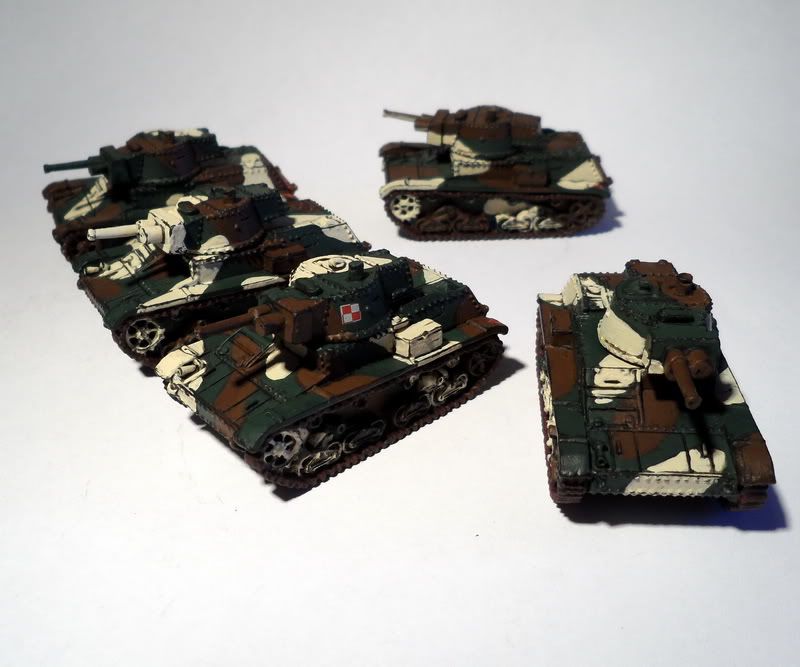
Here's how my 2nd Platoon of 7TP tanks looks with "proper" lightning and background conditions. The bone white patches look just like it does IRL on this picture.
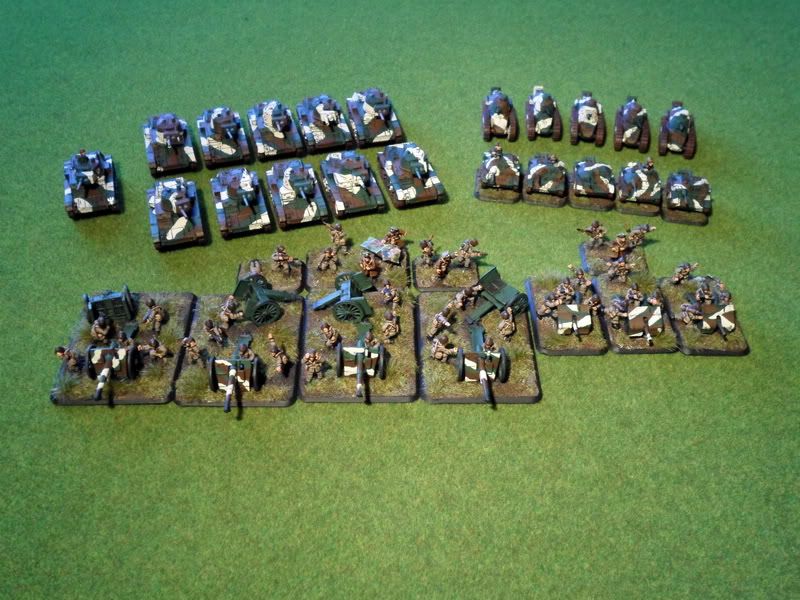
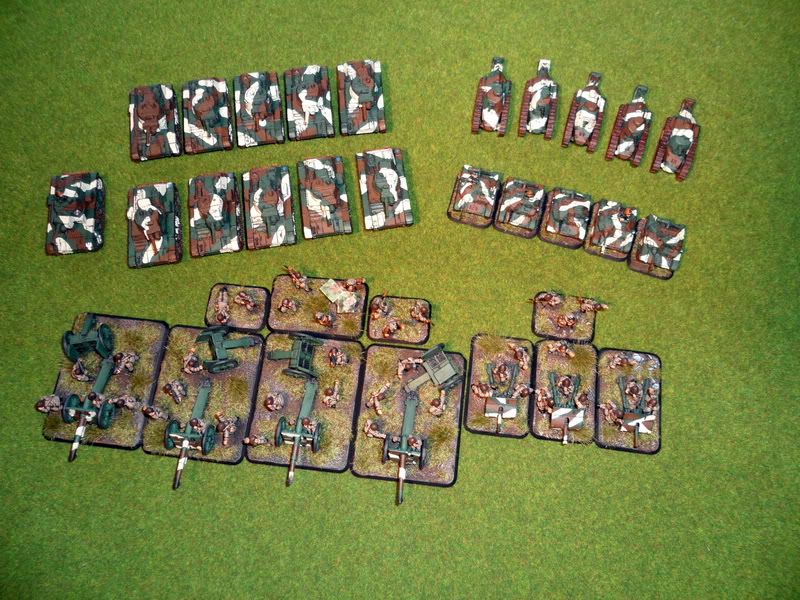
And picture of the stuff I have painted up for my Polish army so far. I will post better pictures of these models sometime during this week.




No comments:
Post a Comment